MRG LFOs (1st gen) Assembly Guide
Theory of operation:
Main PCB Build
The suggested order is to start soldering resistors first, and then the rest of the components. The last components to be soldered should be the pin headers.

Step A1. Start by soldering all the resistors.

Step A2. Solder all ceramic capacitors.

Step A3. Solder the PNP transistors.

Step A4. Solder the electrolytic capacitor.

Step A5. Solder the TL074 ICs.

Step A6. Solder the two 1uF film capacitors.

Step A7. Solder the 10-pin header Eurorack connector.

Everything apart from the two 14-pin headers are soldered on the board now. It is time to solder the front PCB.
Front PCB Build
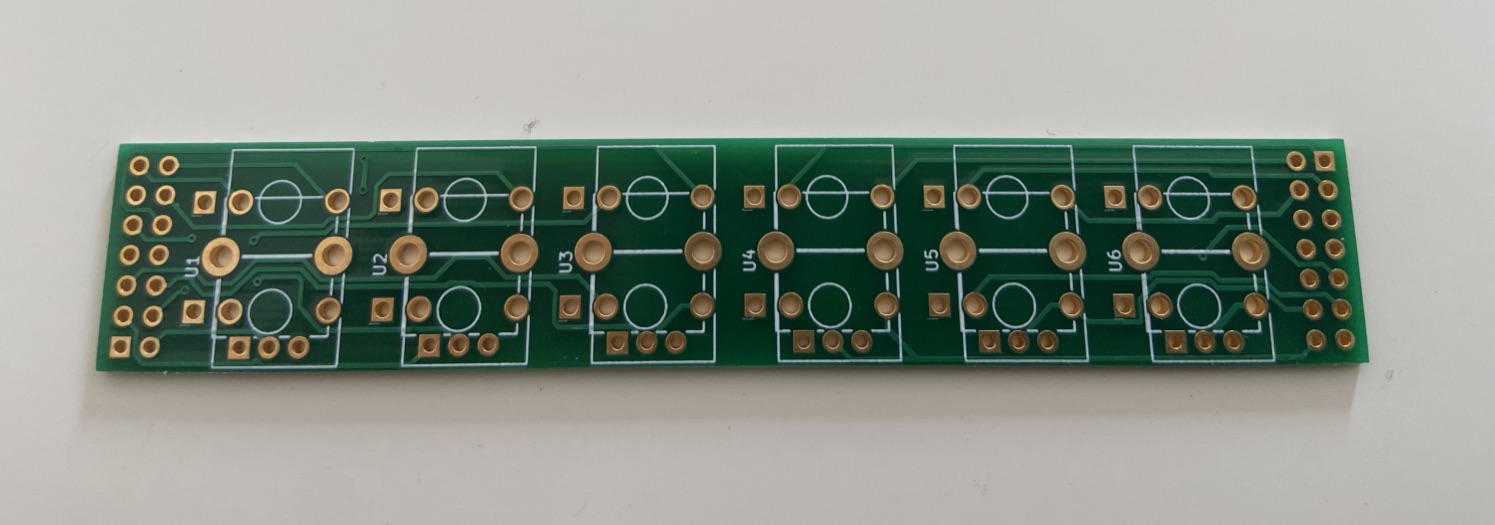
Step C1. Check the alignment of the PCB (label U1 is the top row), arrange the jack sockets and the potentiometers. Do not arrange the LEDs for now.

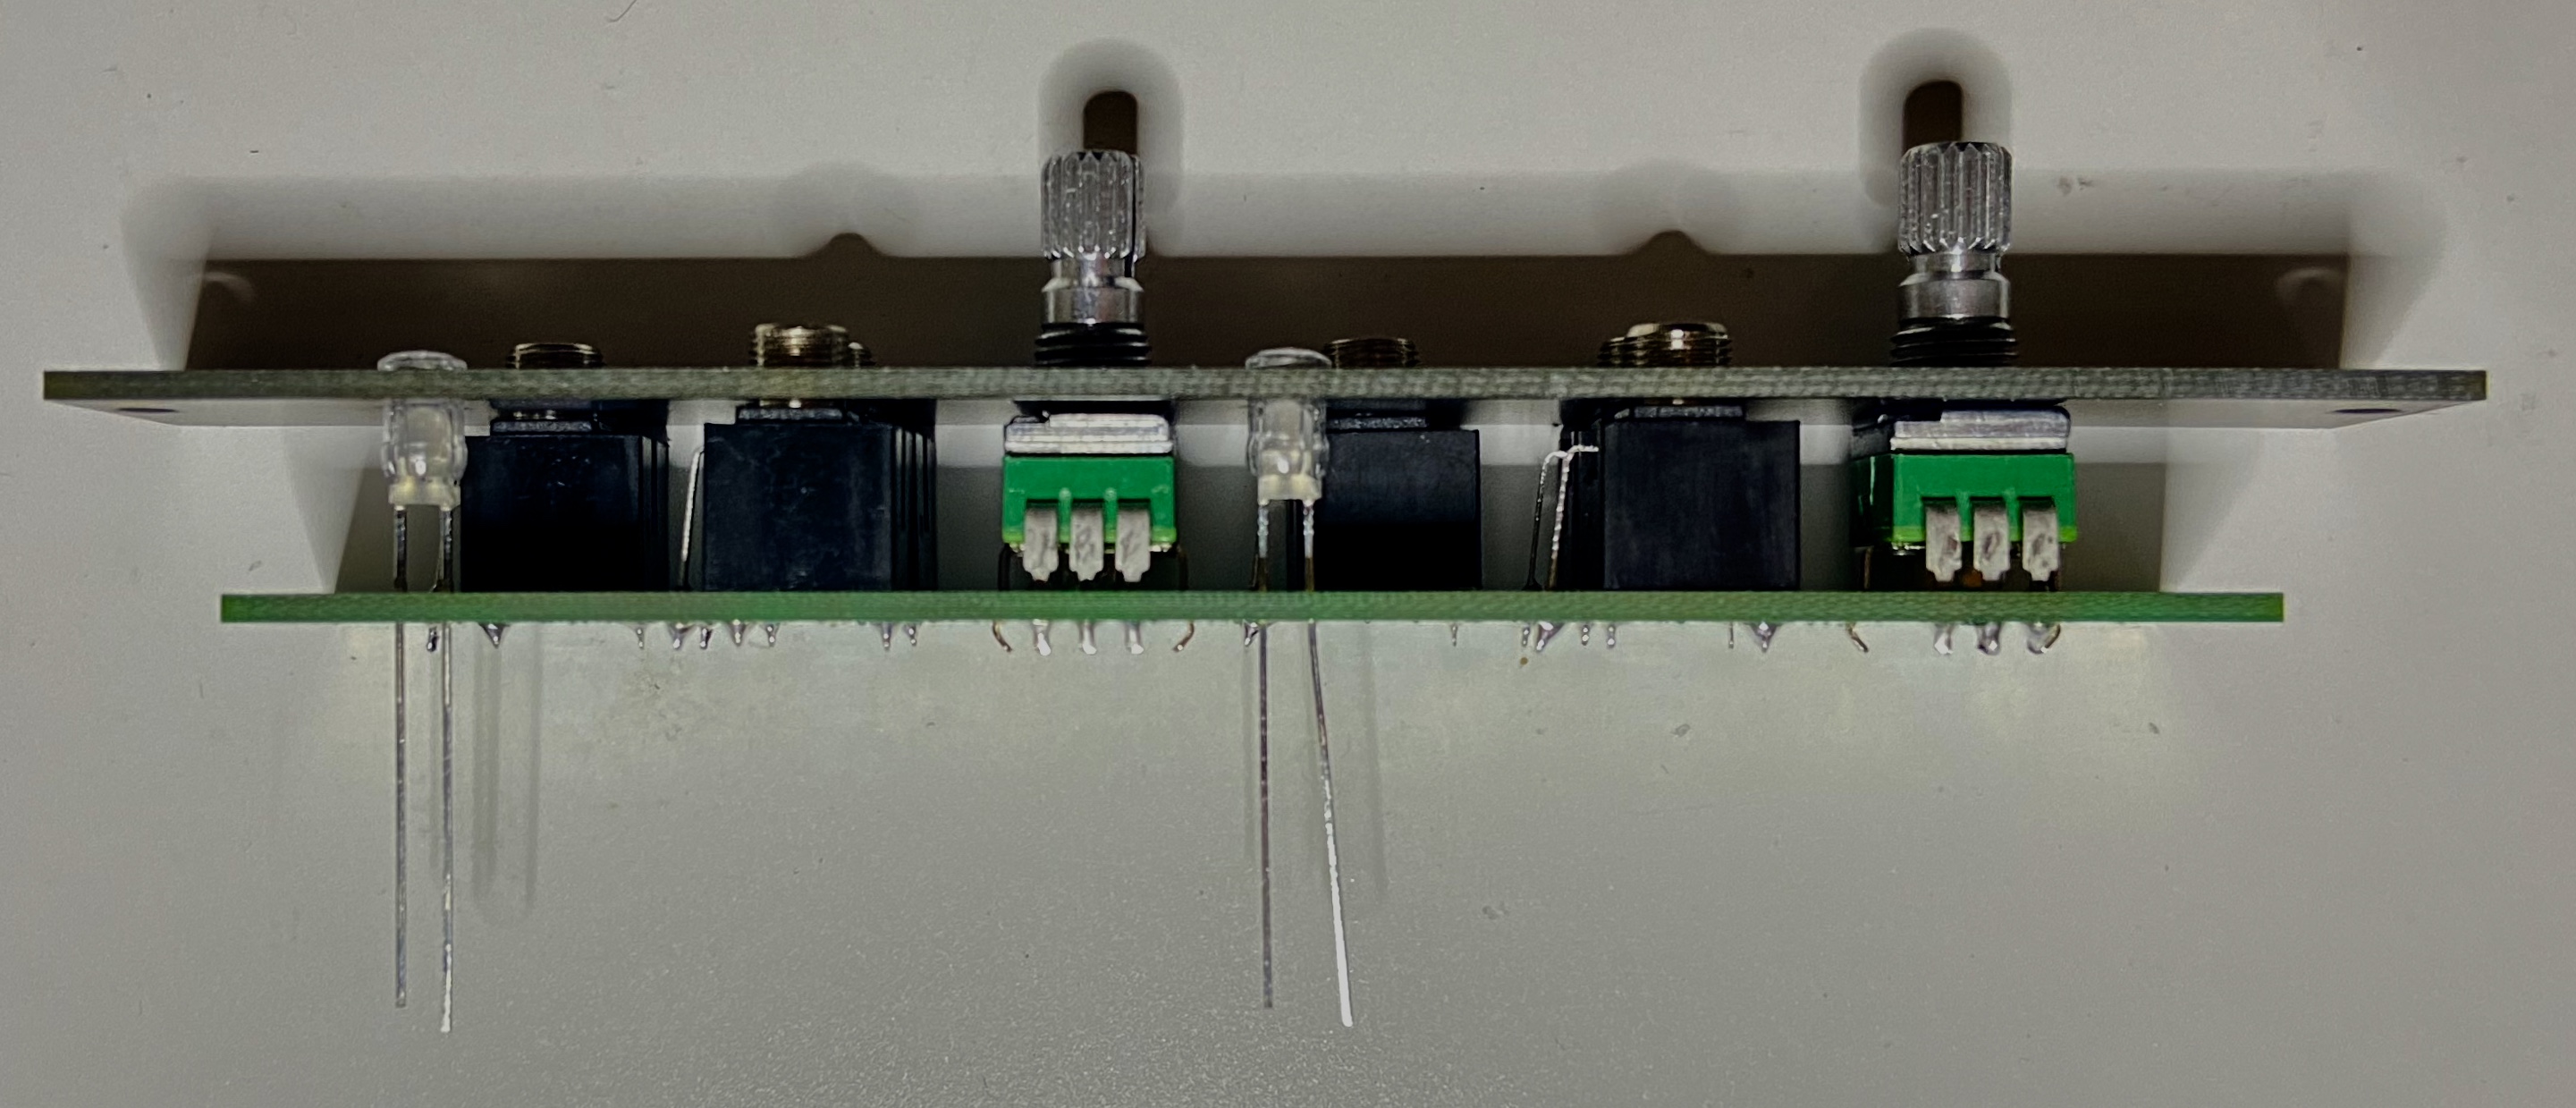
Step C2. Solder the components. Tip: in order to be sure to align the components to the front panel, install the front panel as in photo below and solder the components on the back.

Step C3. Arrange the LEDs as in the picture below.
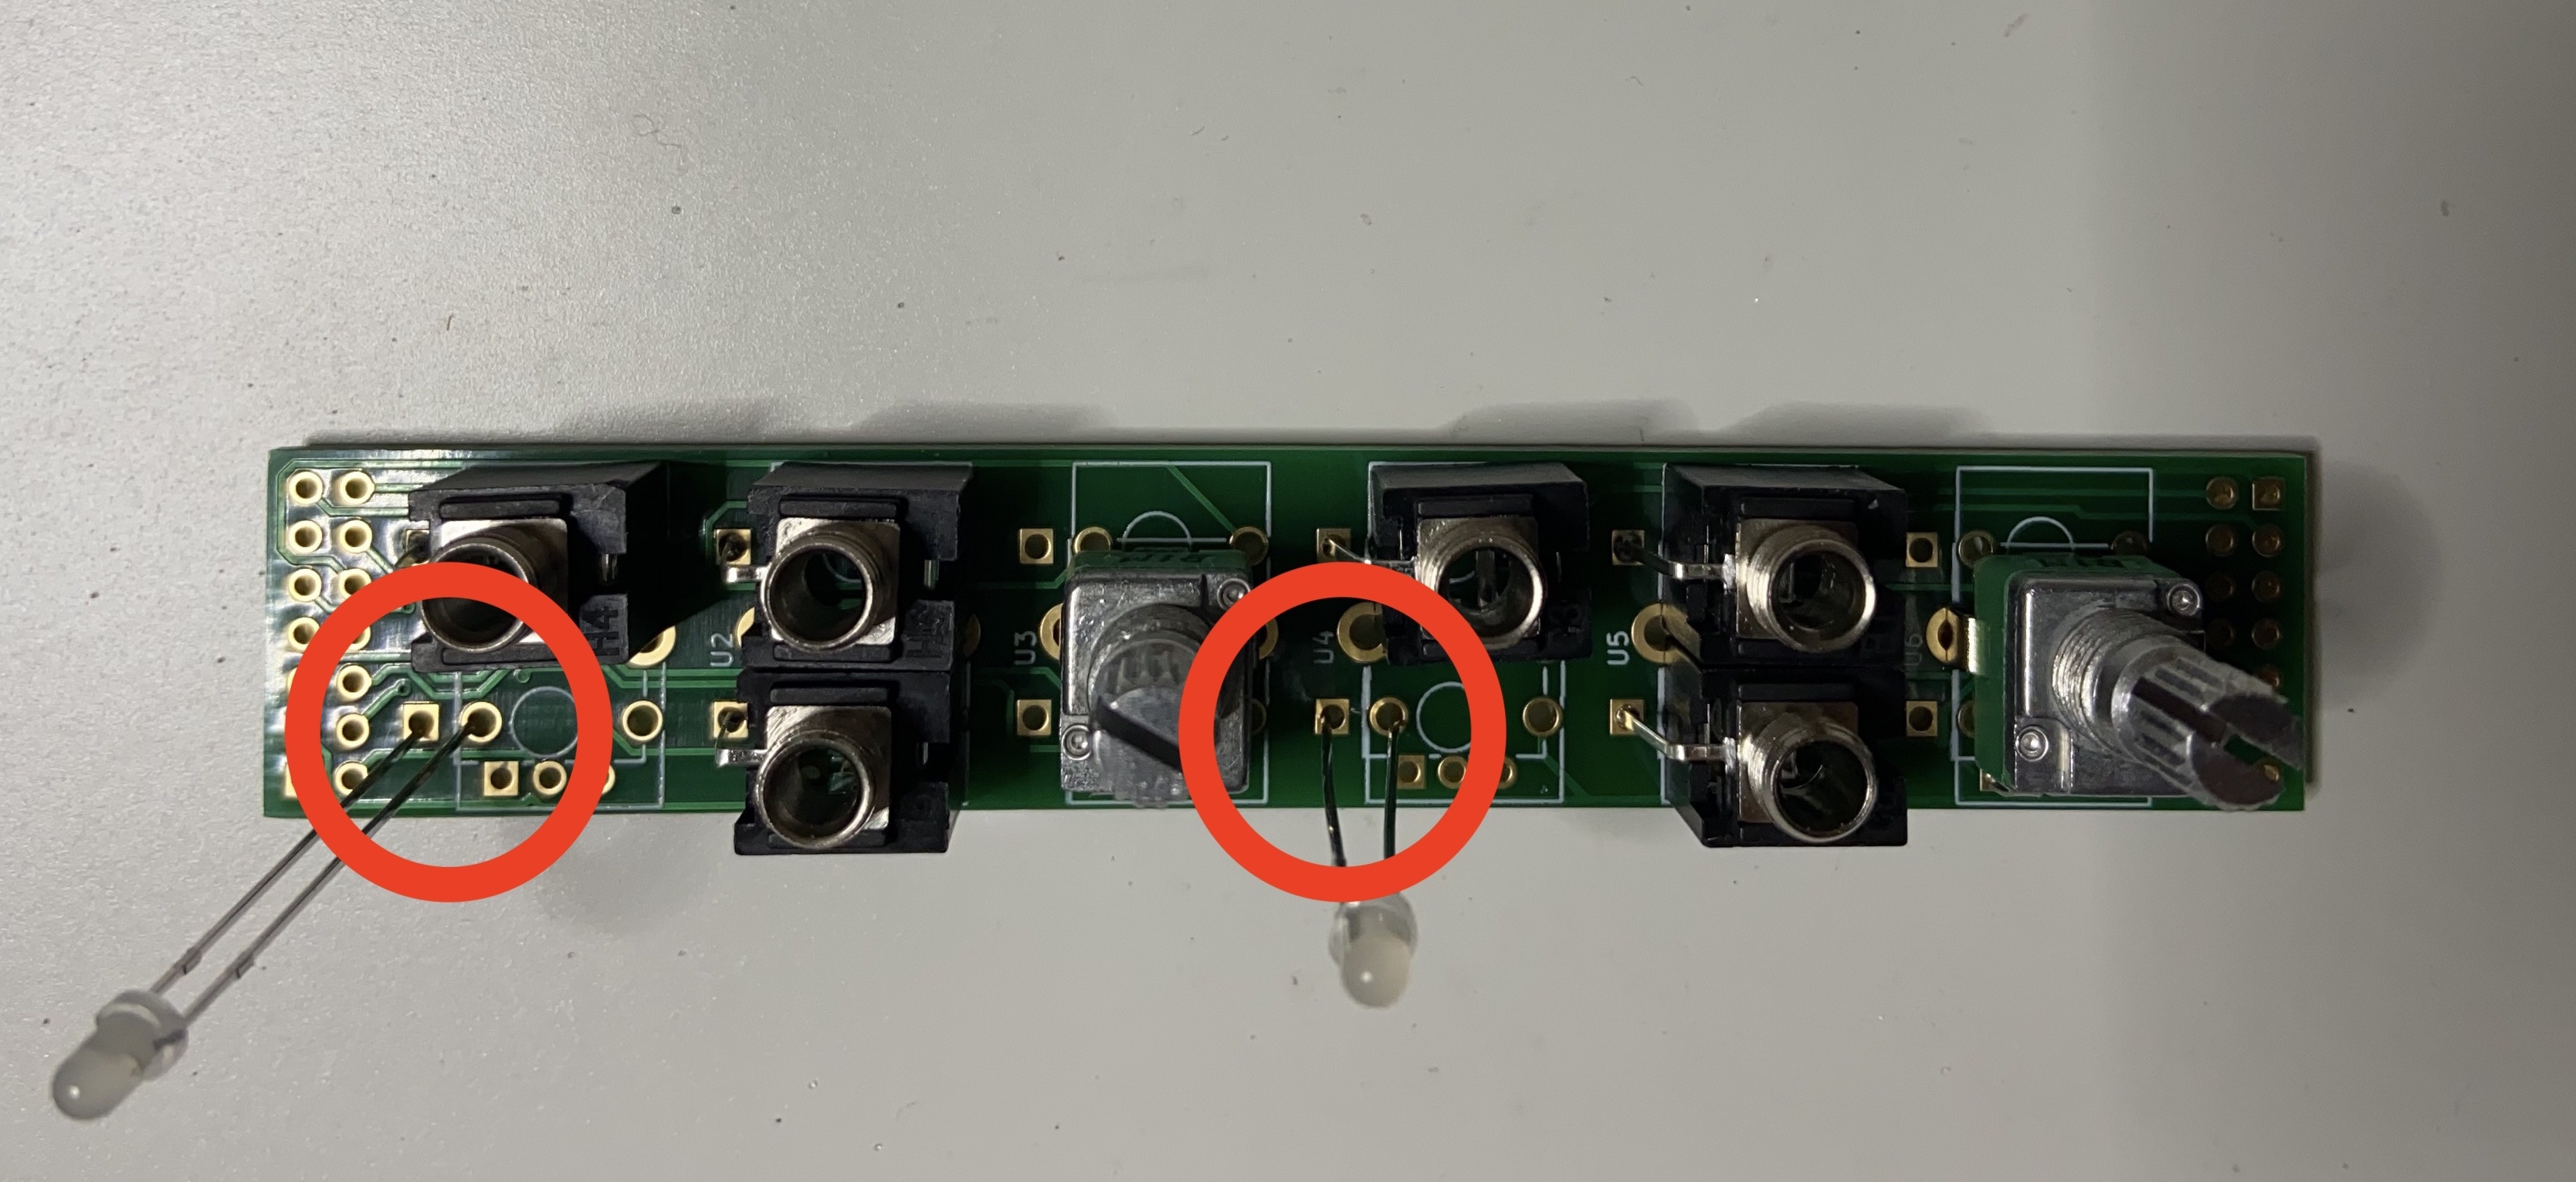
Step C4. Add the front panel on top, insert the LEDs in the front panel’s LEDs holders – as in picture below – and solder in place.
Step C4. Solder the socket headers. Tip: In order to align the Main PCB’s pin headers to the Front PCB’s socket headers, assemble the two PCBs together, as in picture, and solder them in place.
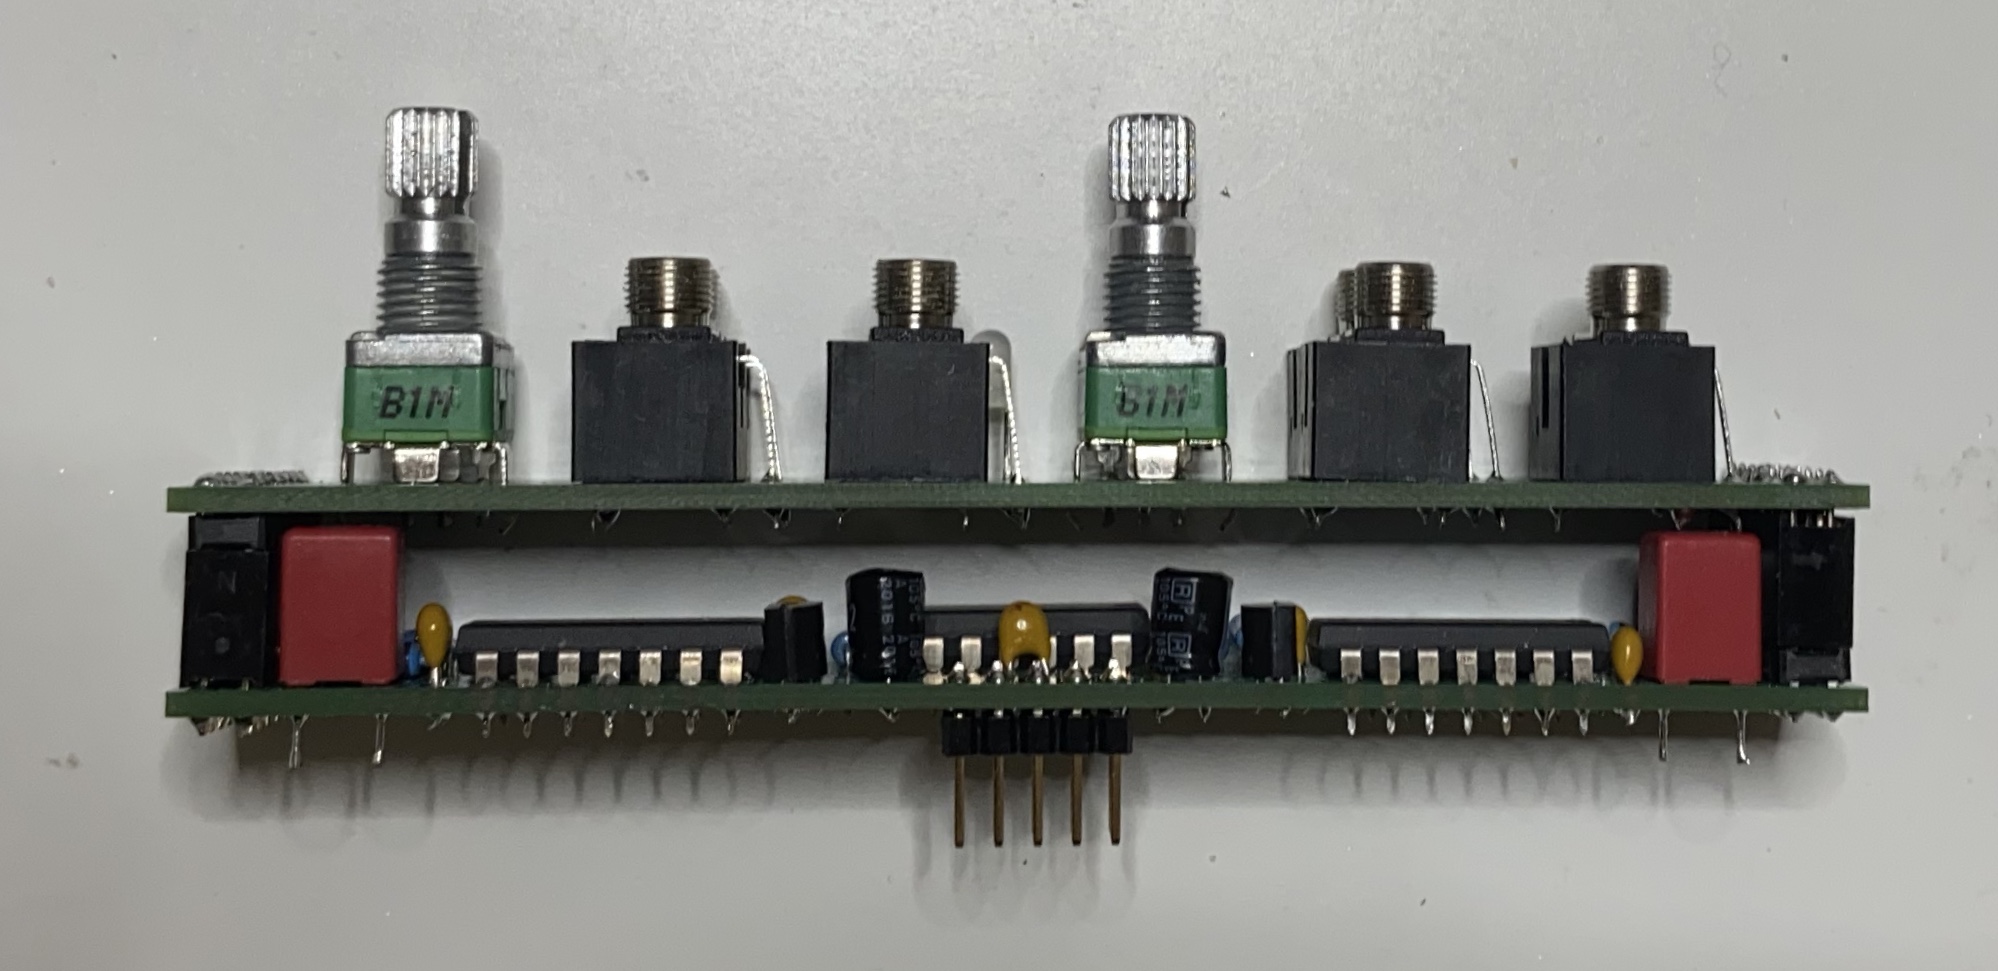
Congratulations! The build is nearly done. All that’s left is installing the front panel.
Final Module Assembly
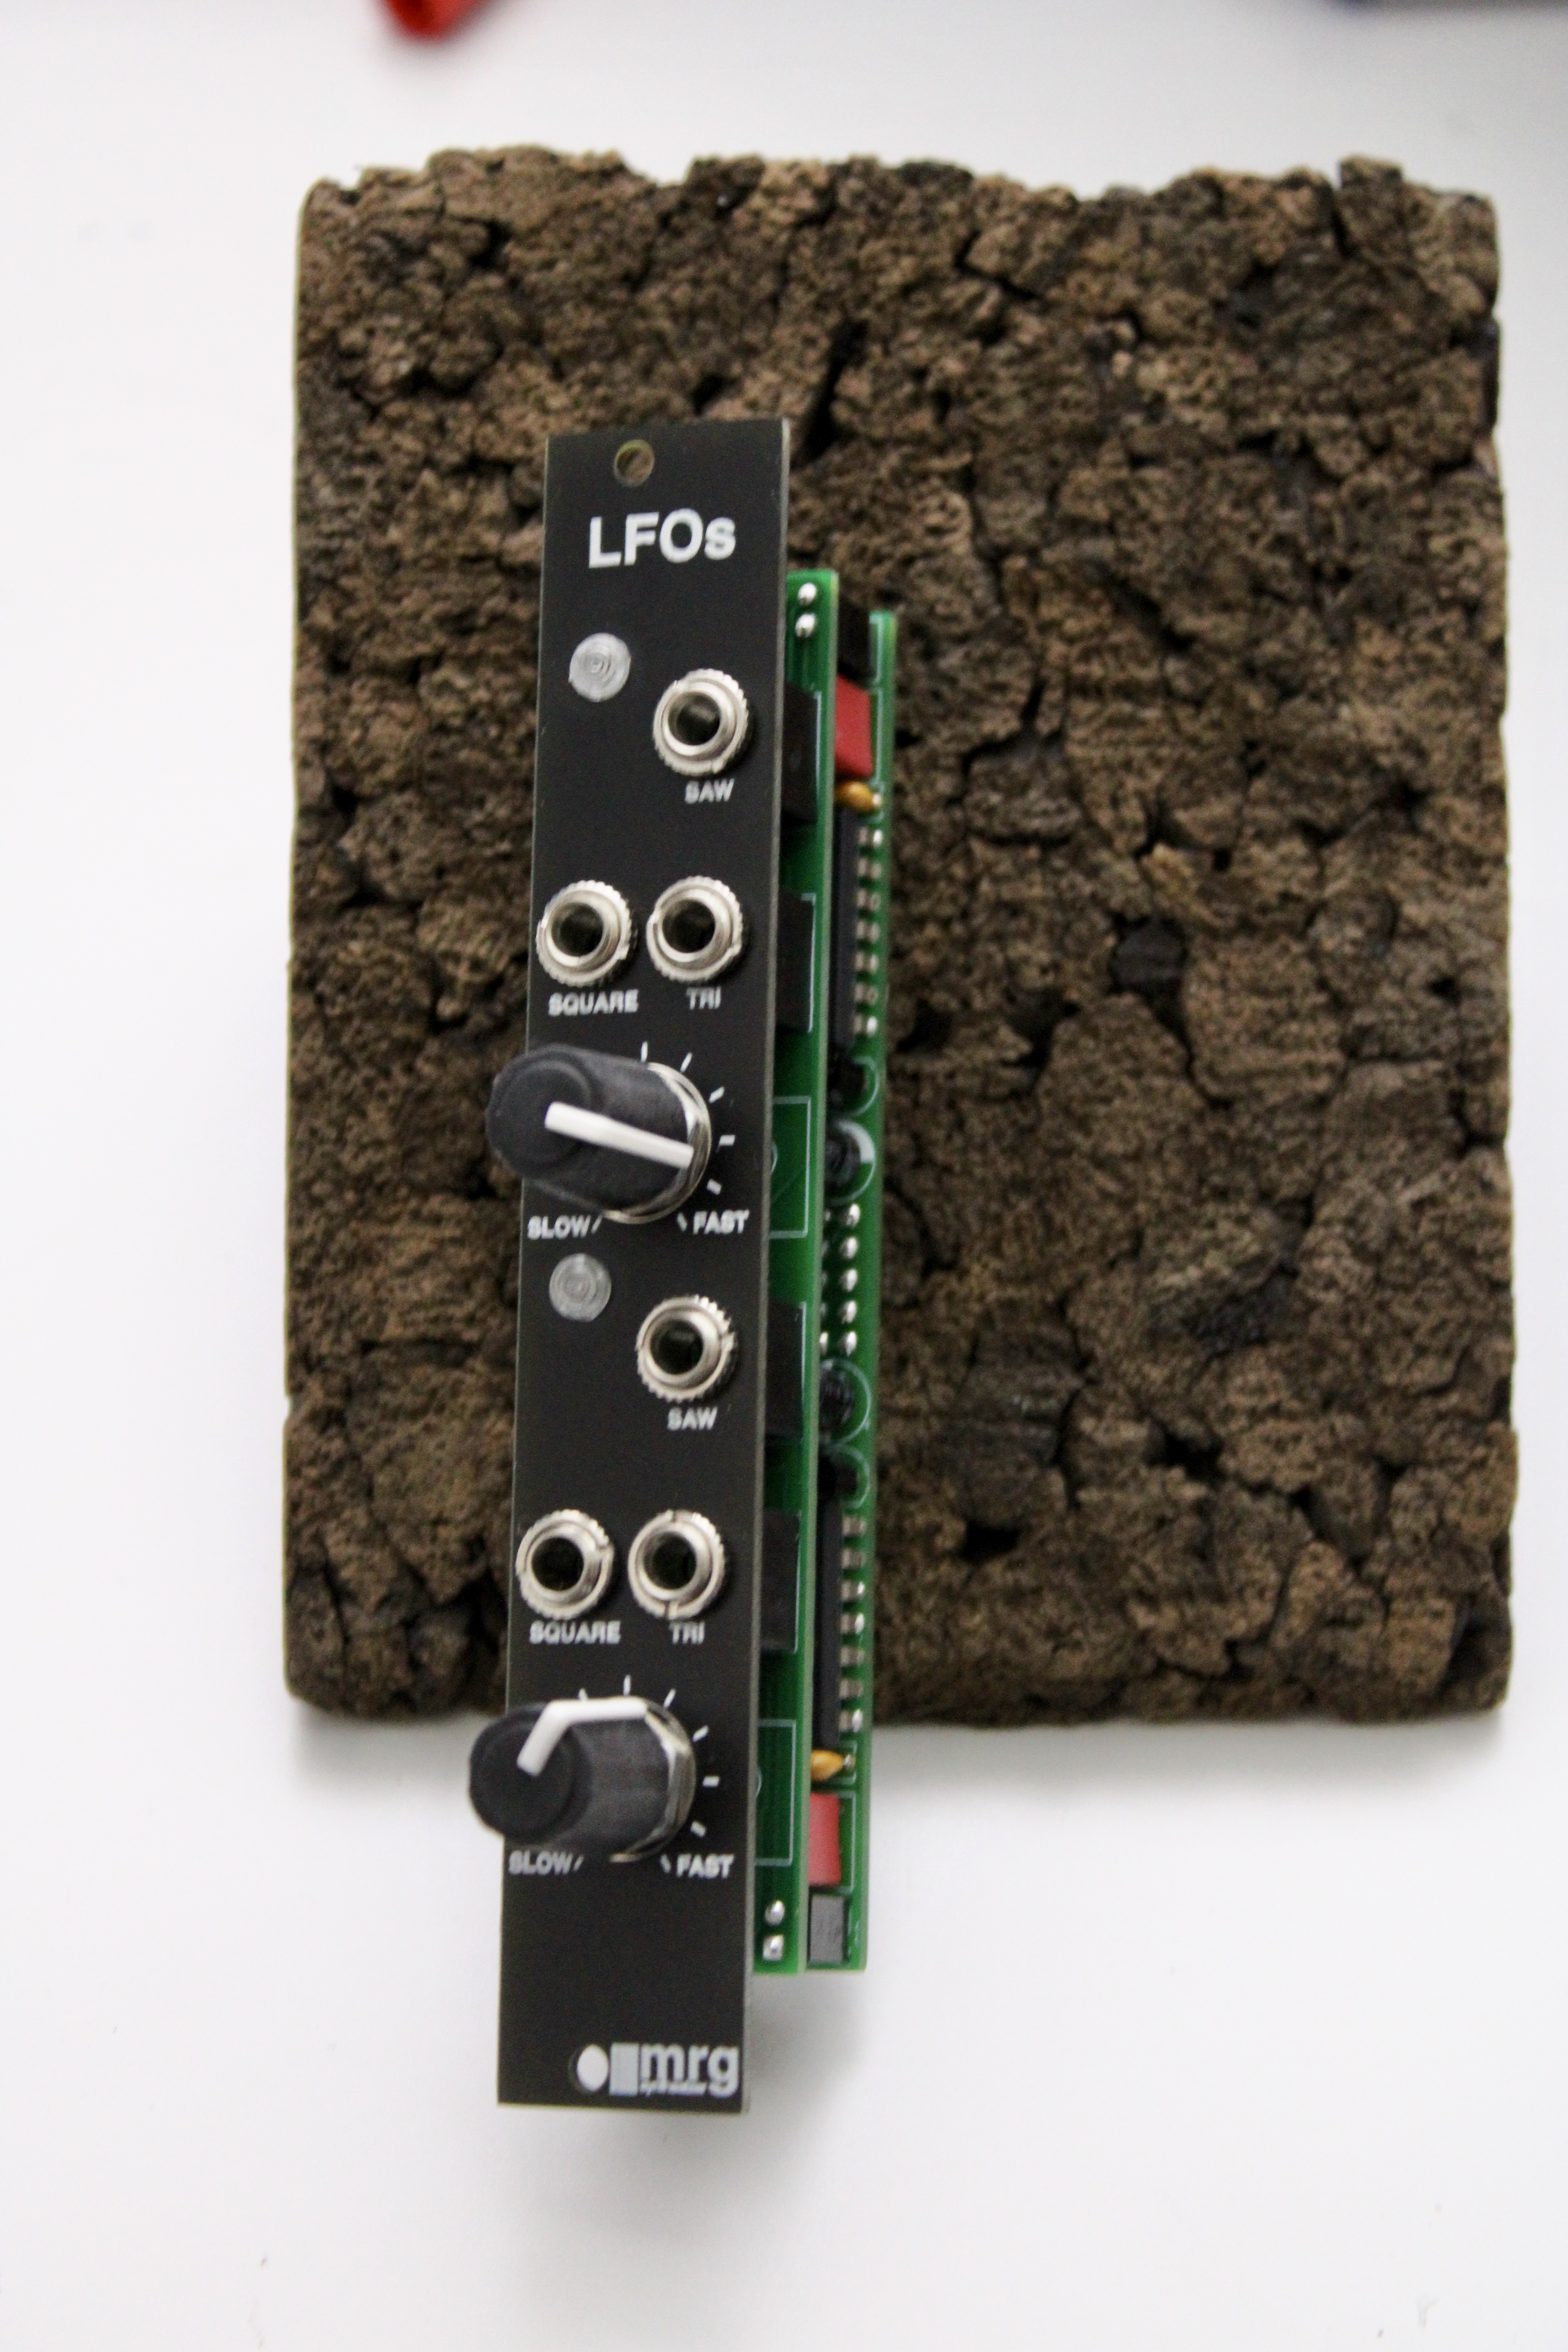
All that’s left now is to install the front panel, using nuts and washers to keep it attached, and adding the knobs to the potentiometers.
Feedback? Suggestions? Contact me! .