MRG 3340 VCO Assembly Guide
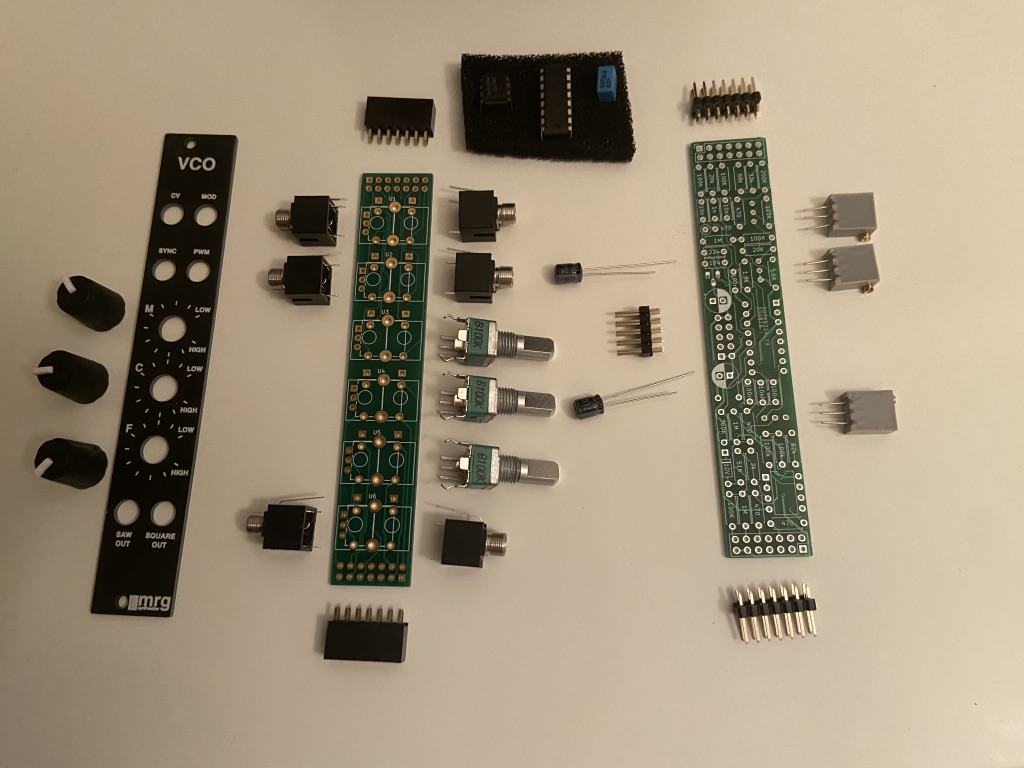
The MRG 3340 VCO module is completely through hole. Its build should be considered of medium-to-high difficulty given the number of components and steps required.
Theory of operation:
- Build the Main PCB.
- Build the Front PCB.
- Module assembly.
- Tuning.
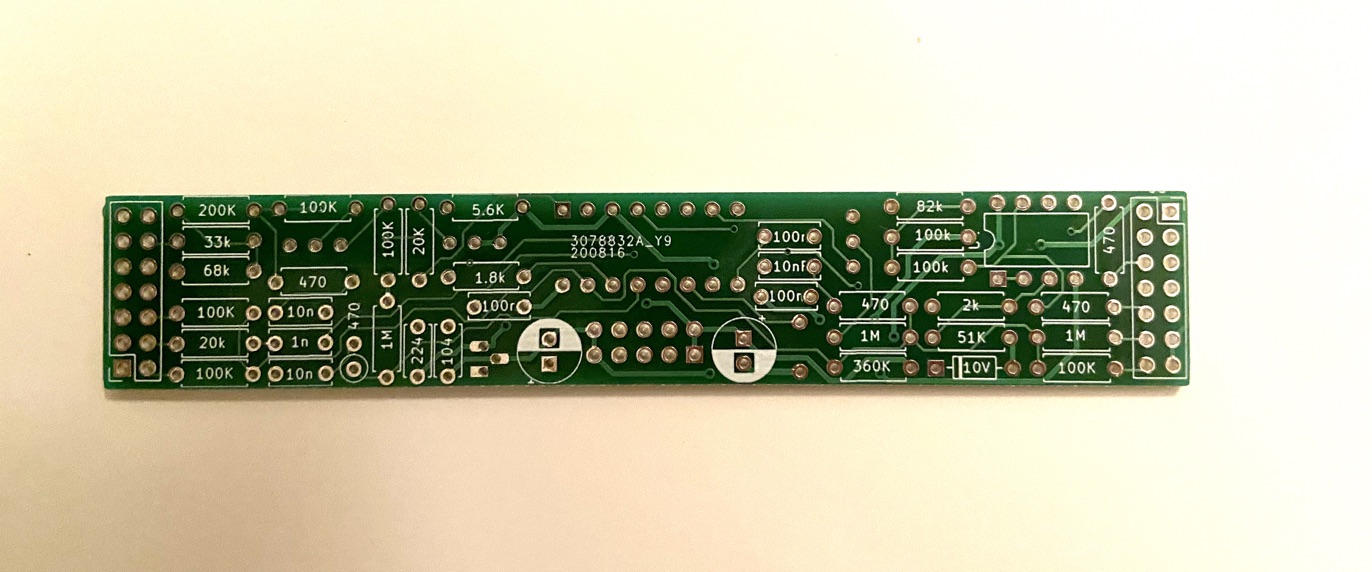
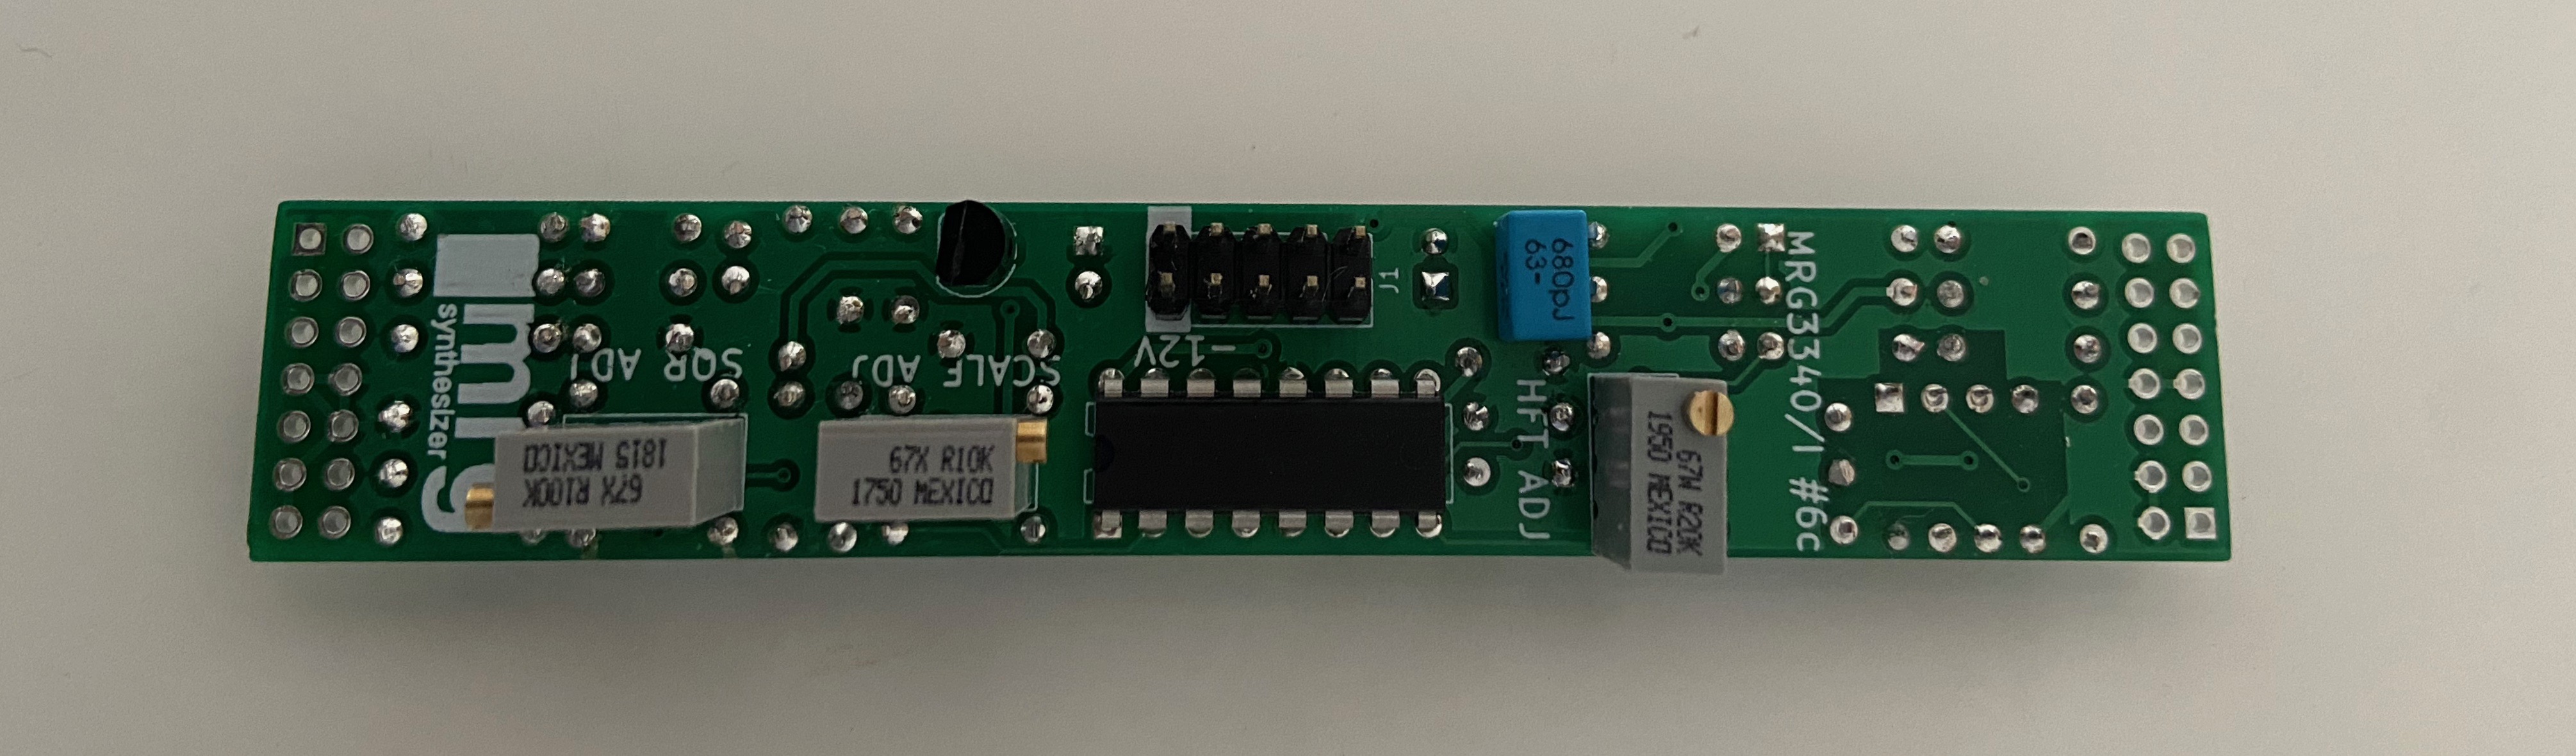
Main PCB build
The suggested order is to start soldering the front of the PCB (the one with all the resistors), and later the back, that contains the main IC, the timing capacitor, the trim pots and the eurorack 2x5 pin headers.
Main PCB Front
Step A1. Start by soldering all the horizontal resistors and the Zener diode.
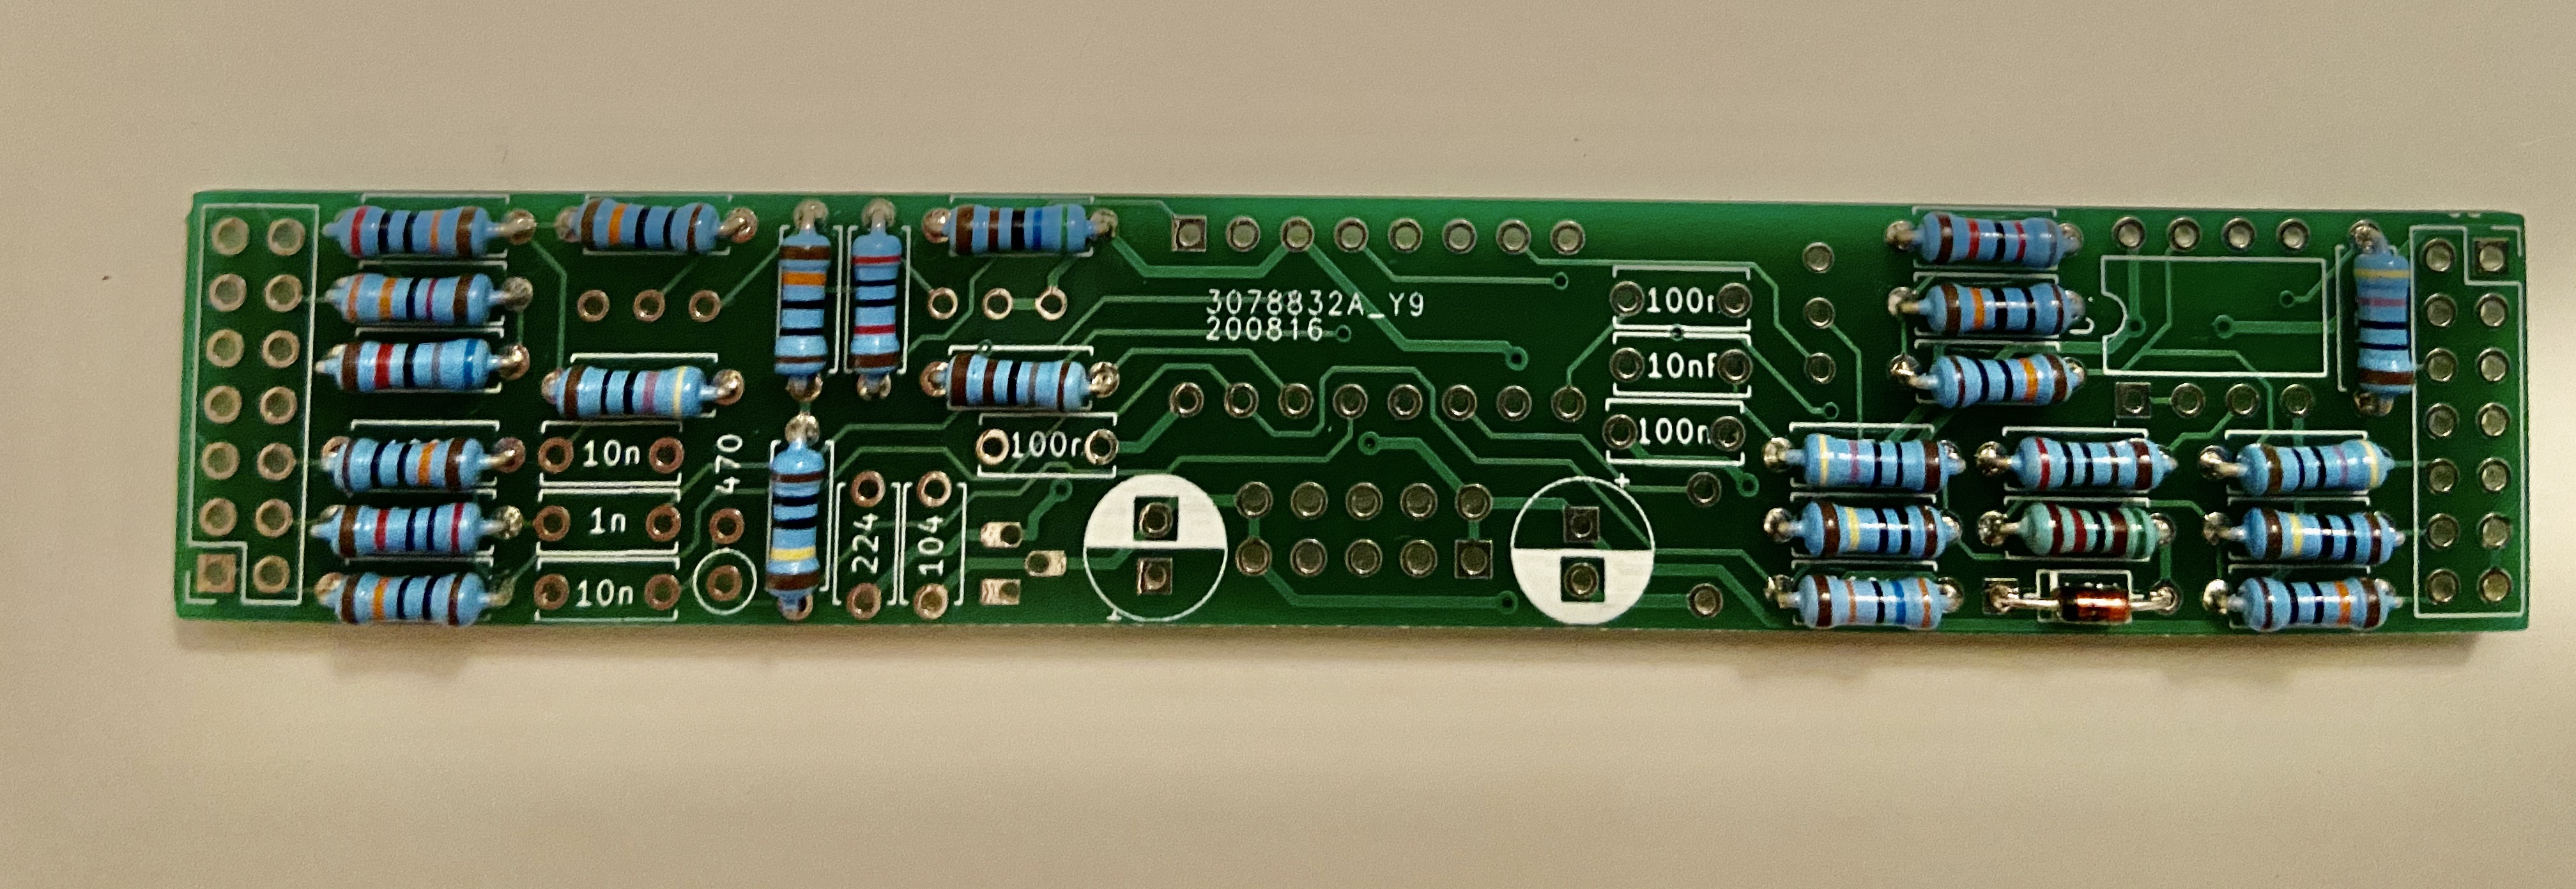
Step A2. Solder all ceramic capacitors.
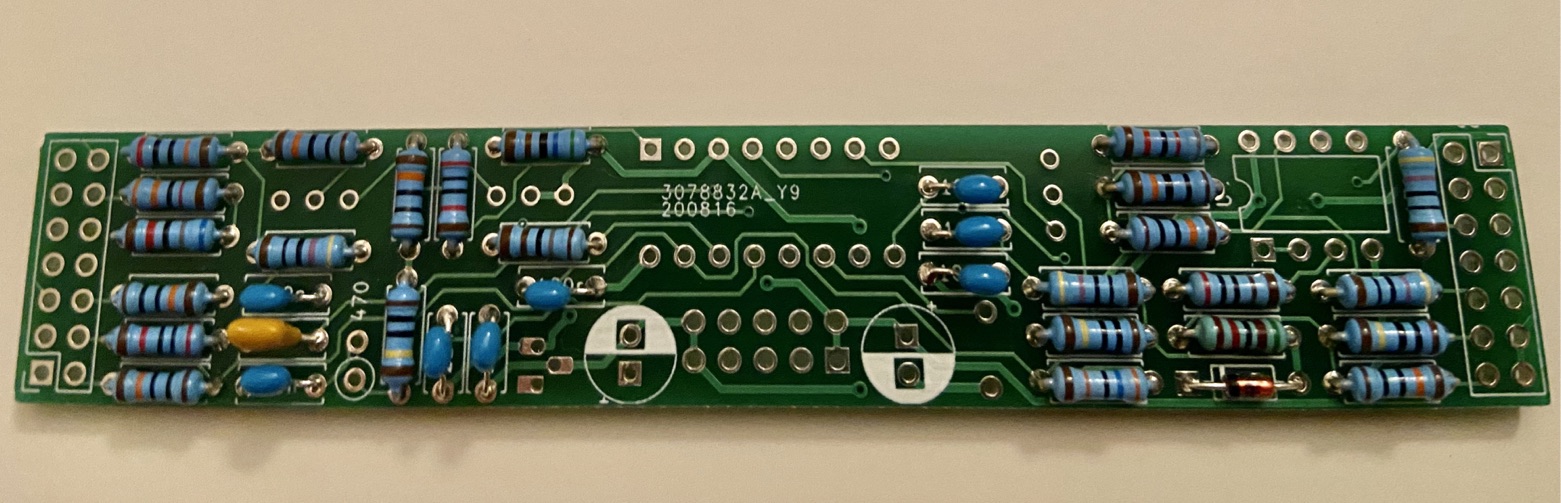
Step A3. Solder the vertical 470 Ohm capacitor.
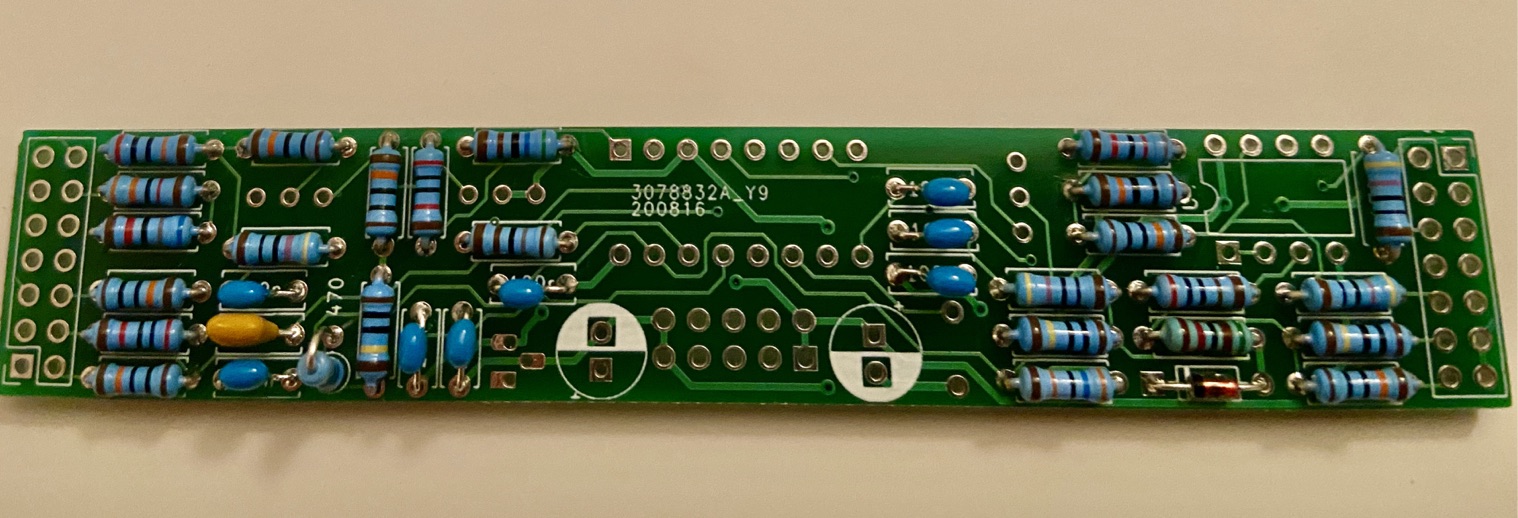
Step A4. Solder the electrolytic capacitors.
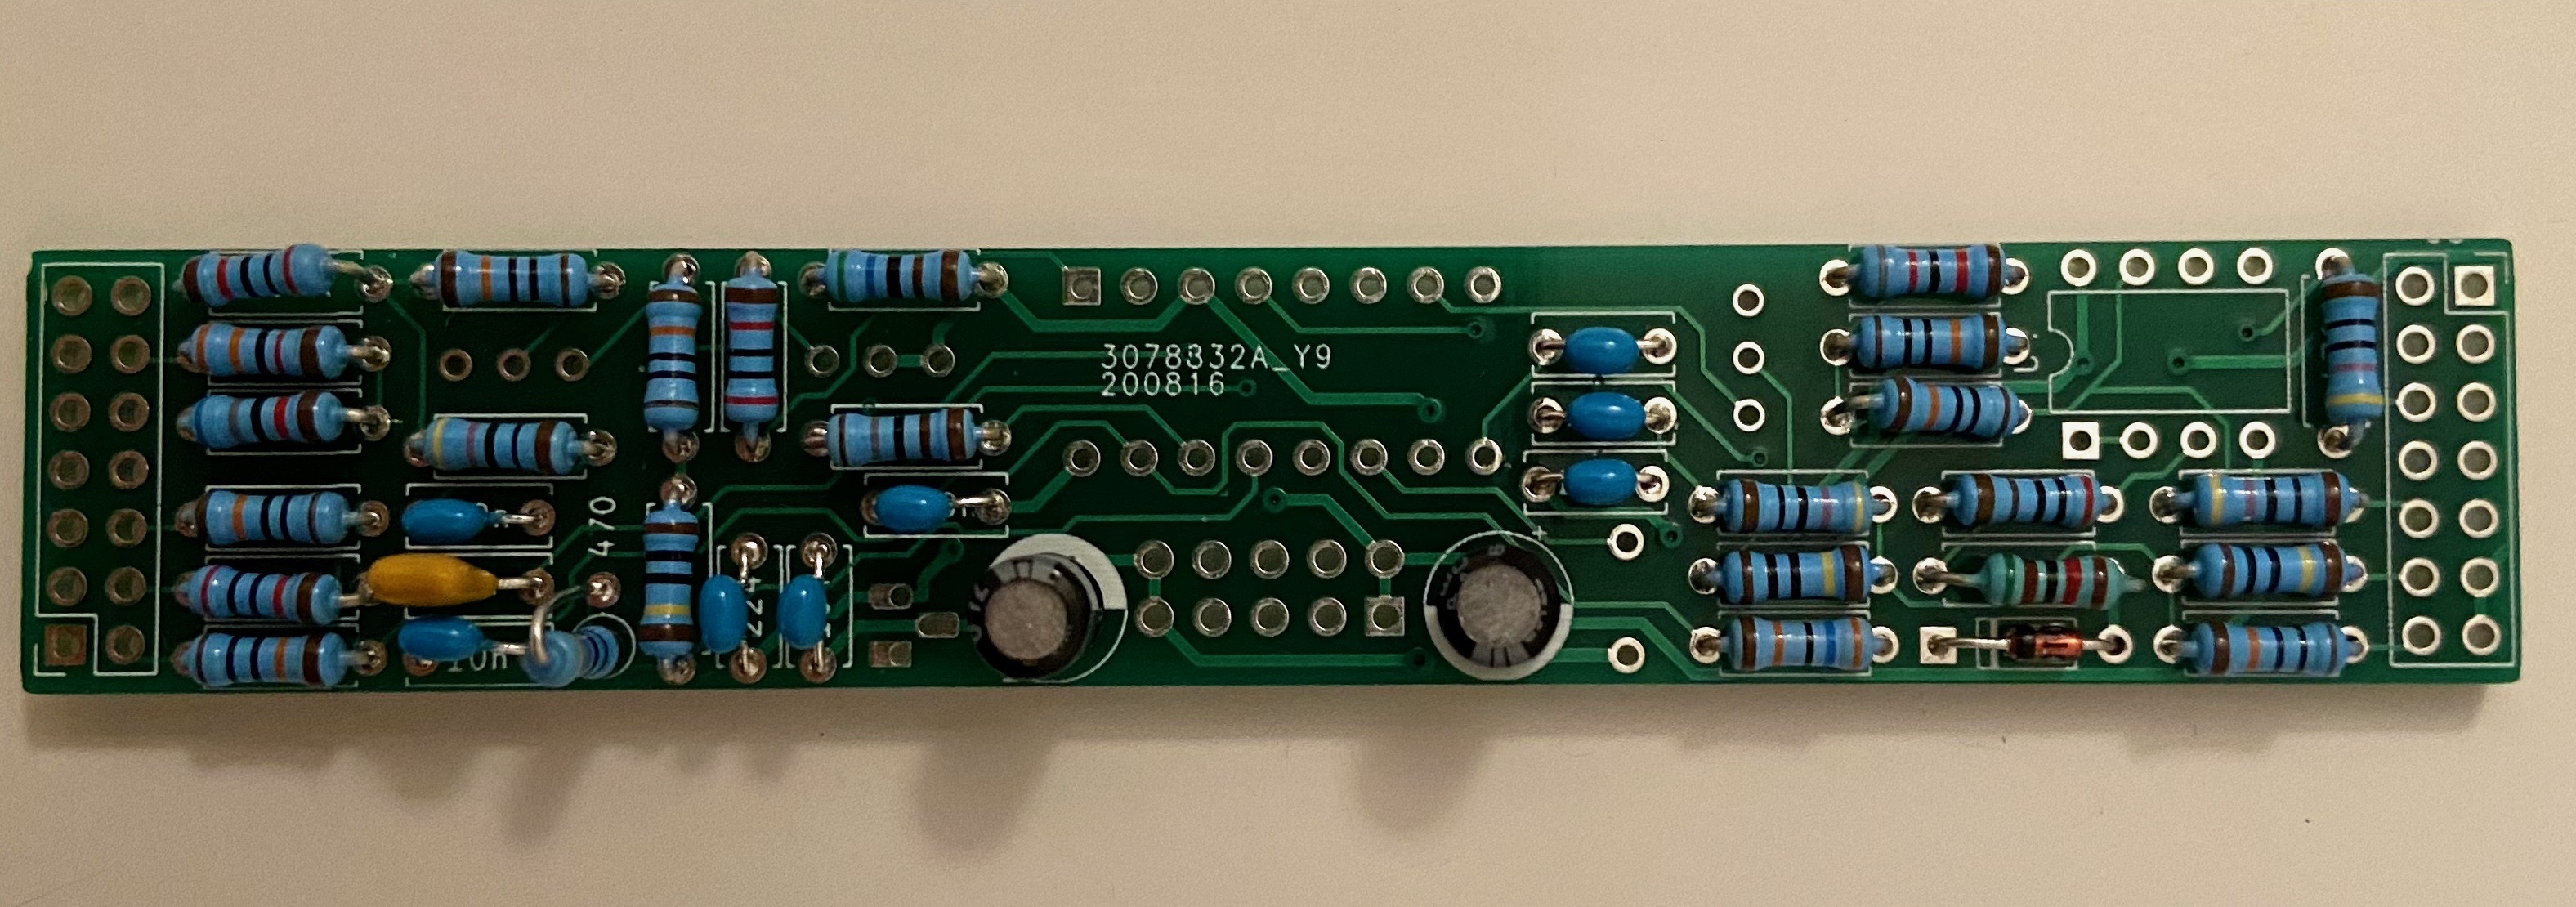
Step A5. Solder the TL072 IC. If desired, an 8-pin socket can be soldered on the PCB, instead of directly soldering the IC.
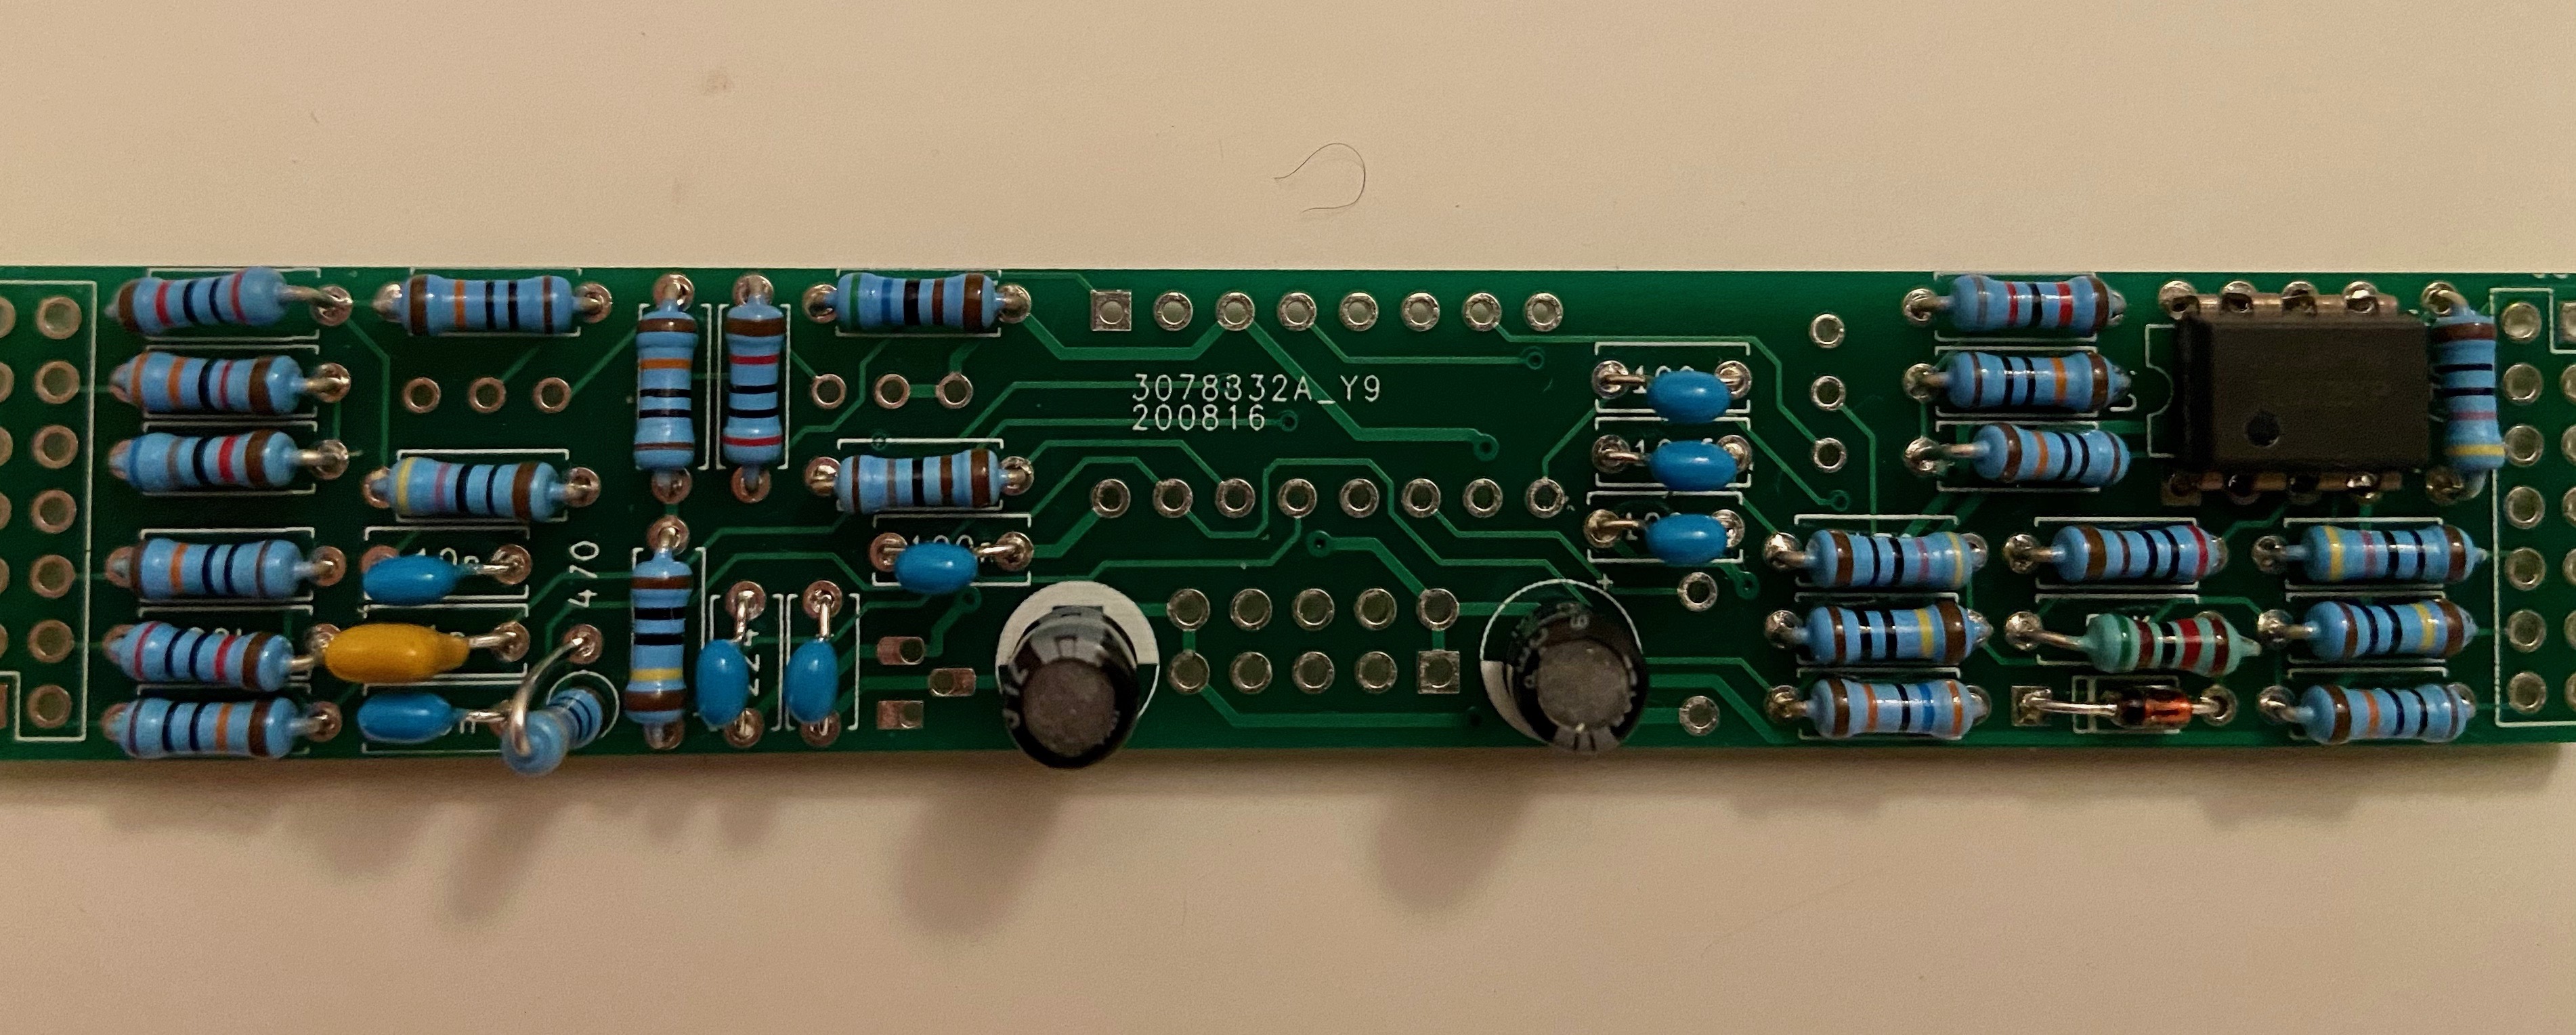
Main PCB Back
Step B1. Solder the 10-pin header, the polypropylene capacitor and the voltage regulator.
Step B2. Solder the trim pots.

Step B3. Solder the AS3340 IC. If desired, a 16-pin socket can be soldered on the PCB, instead of directly soldering the IC.
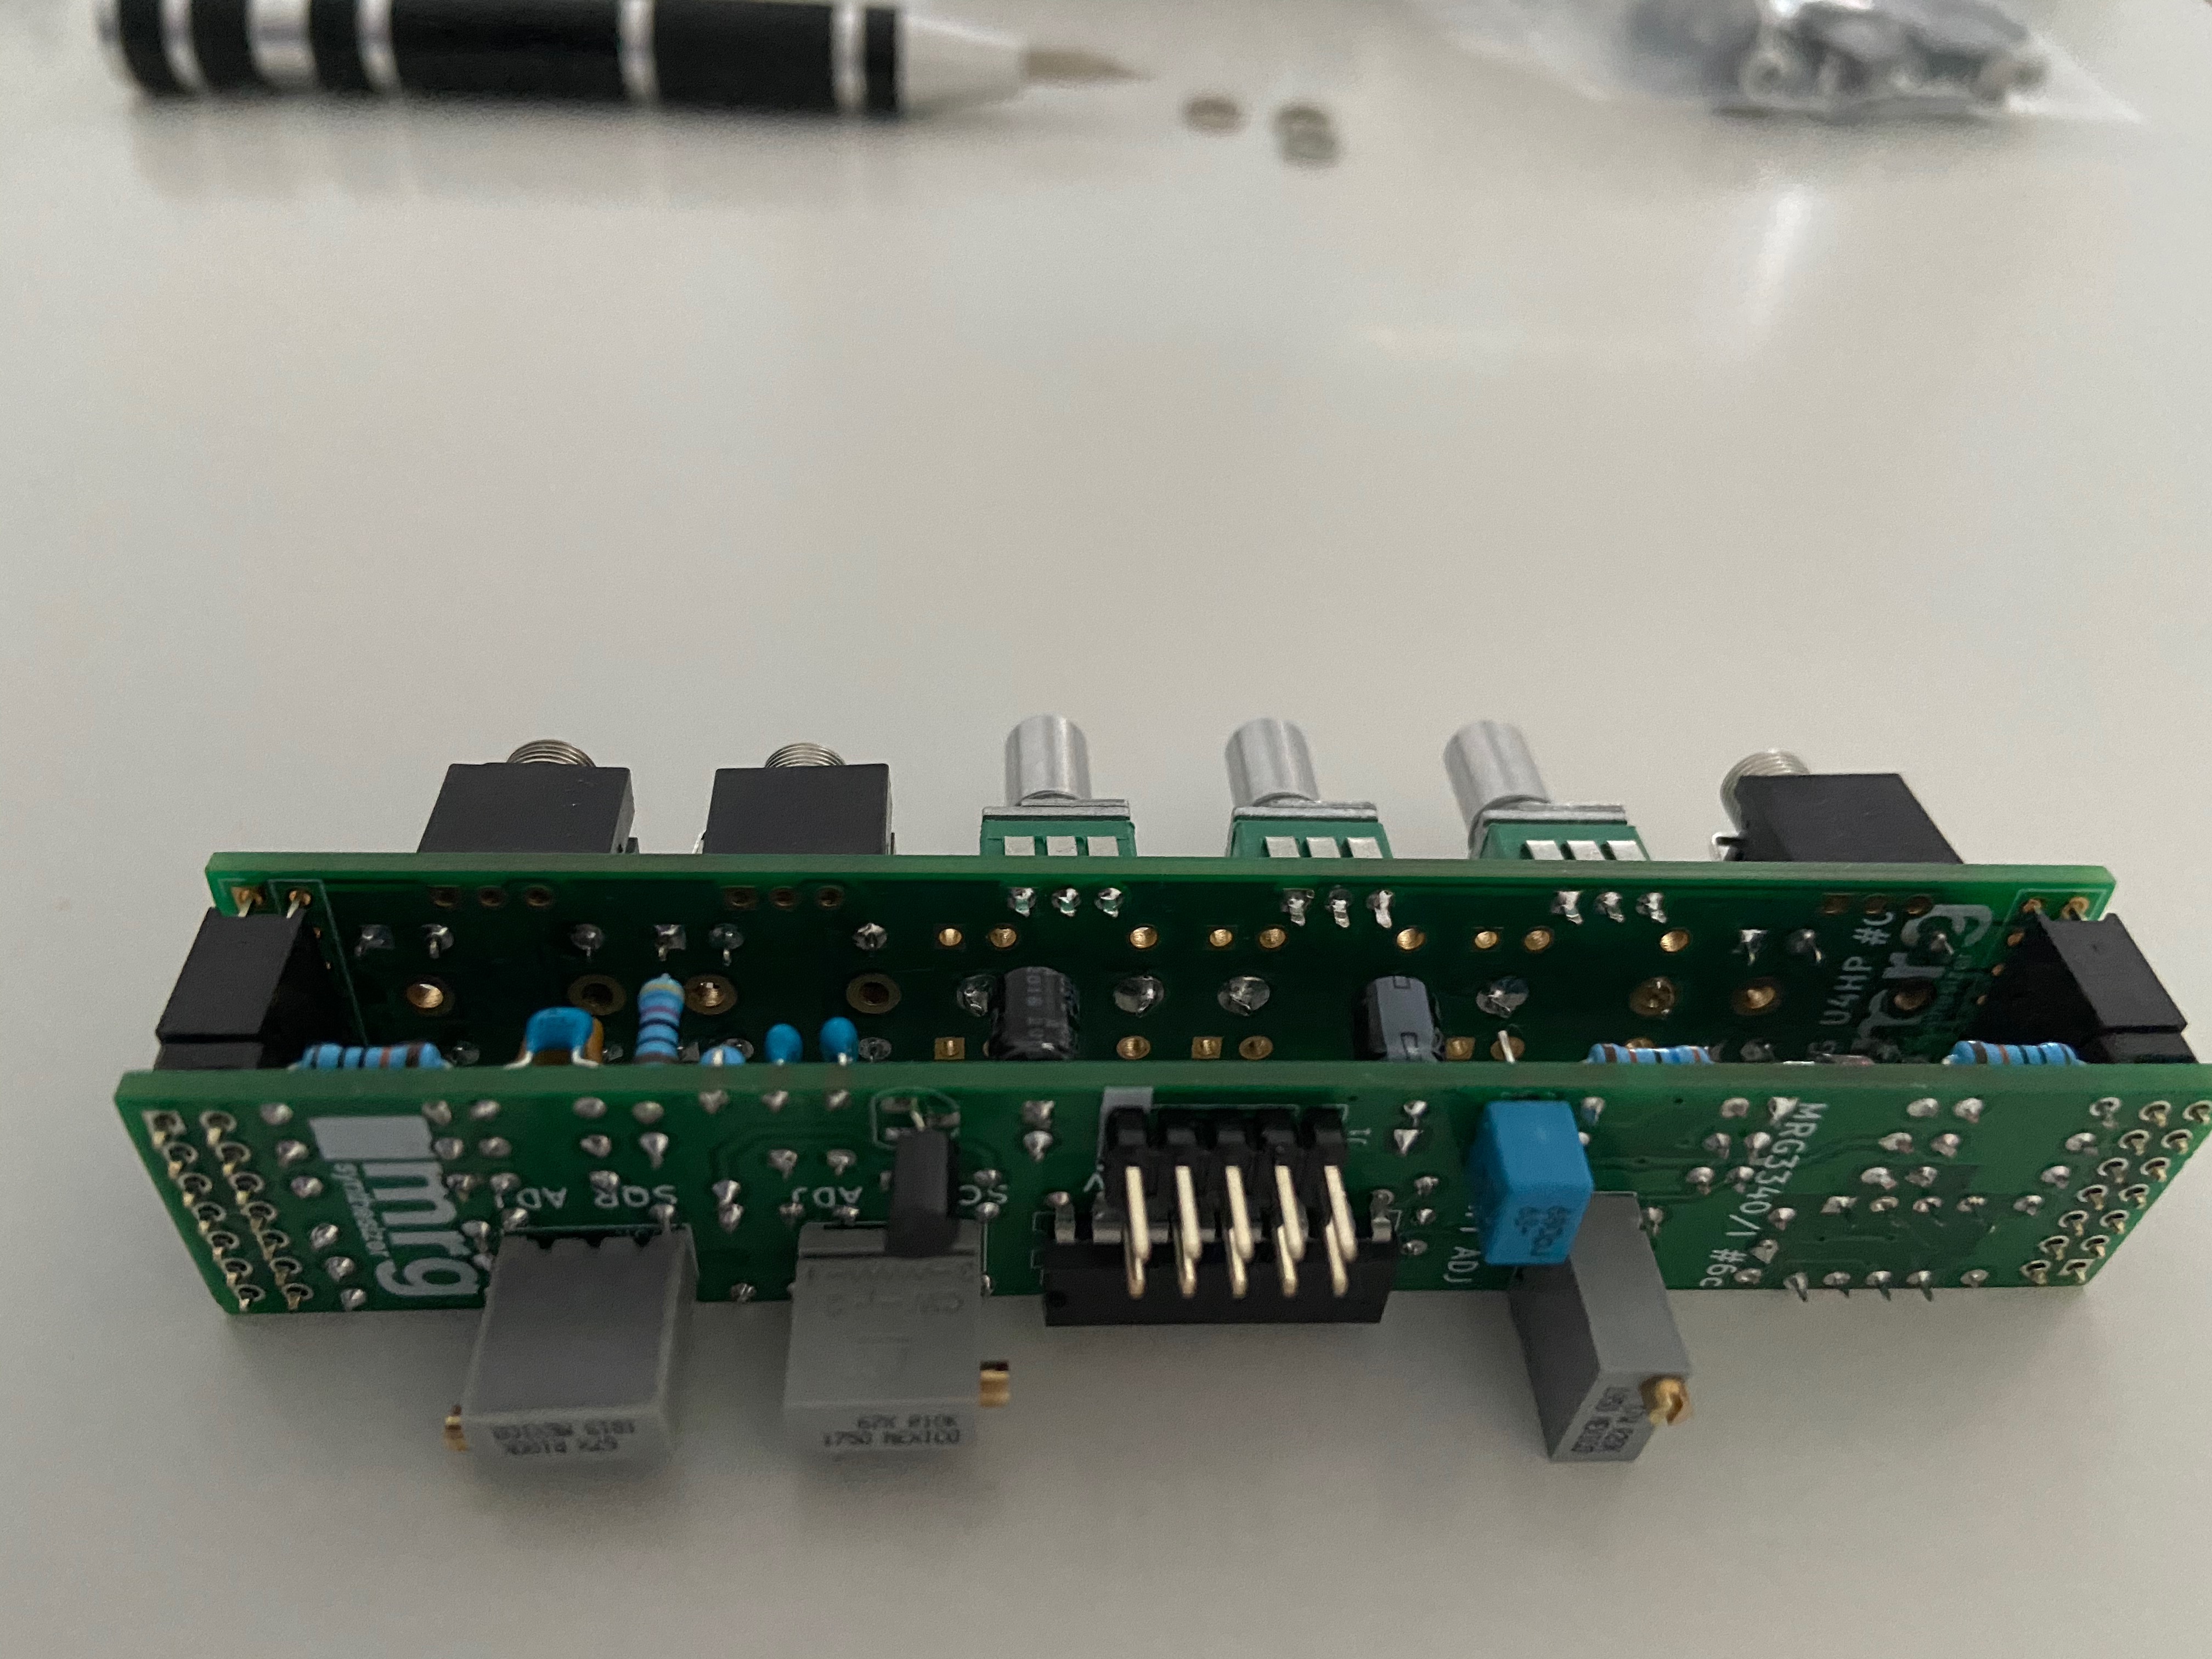
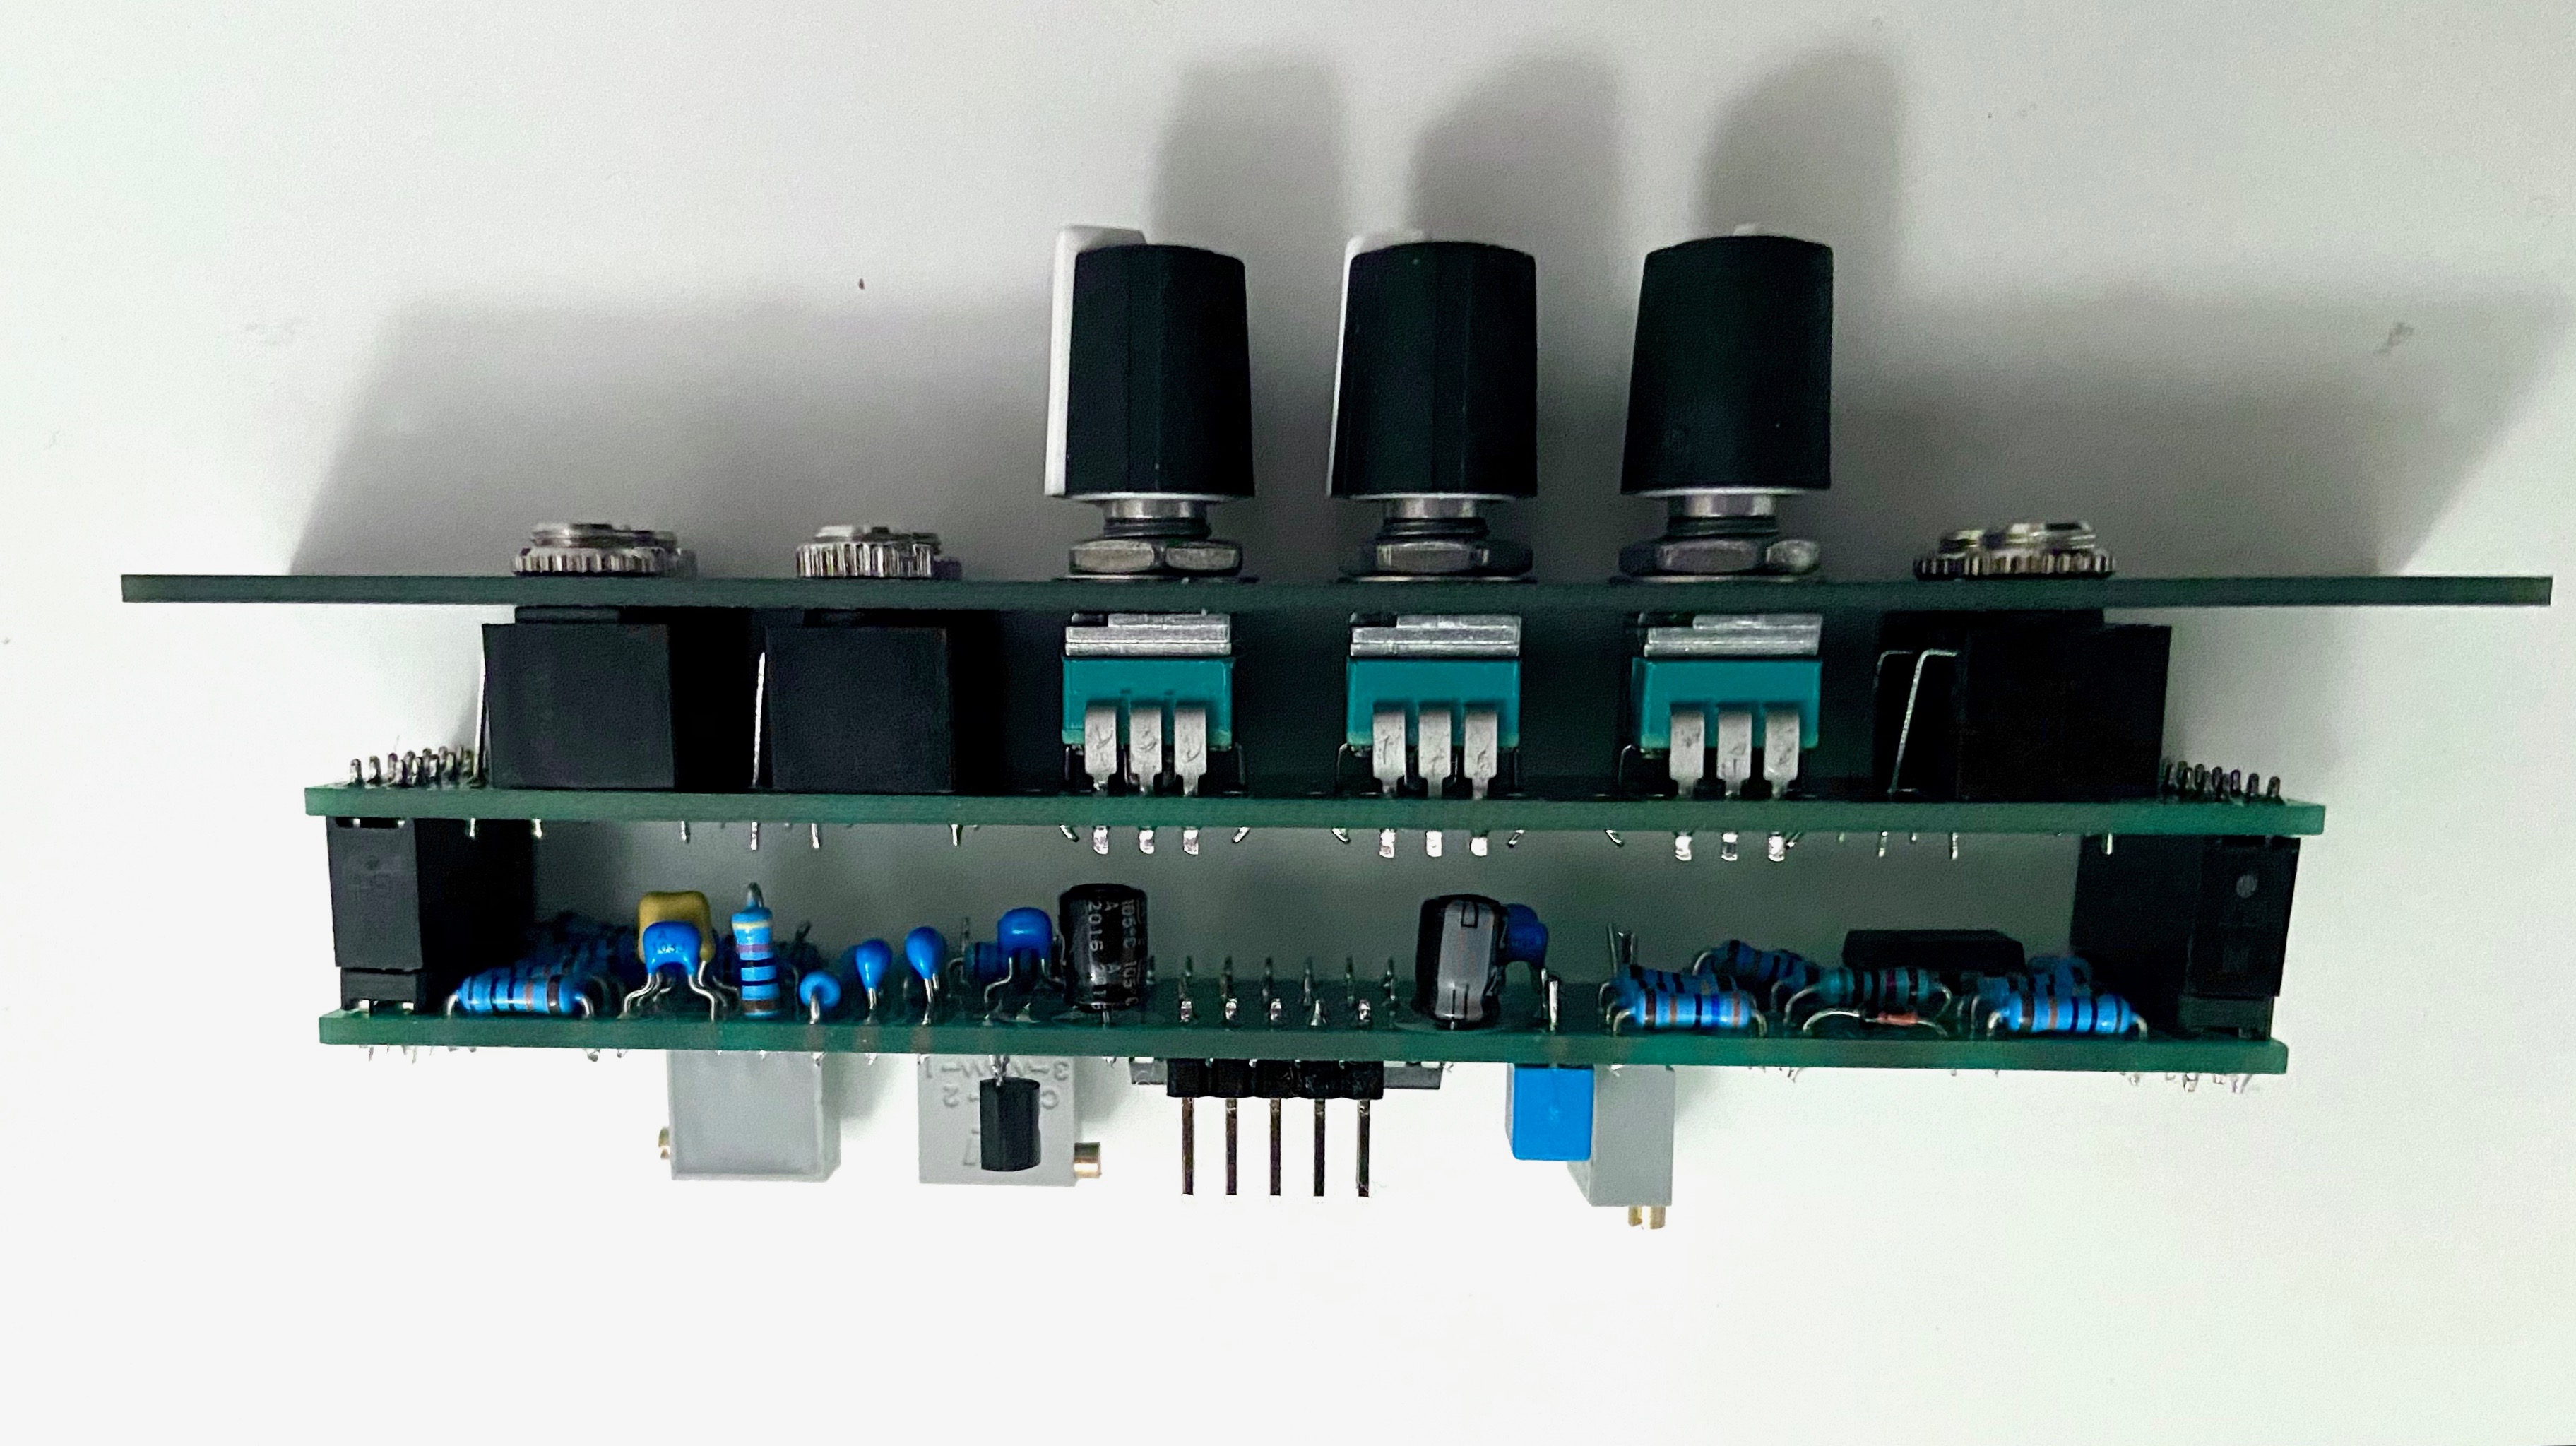
Everything apart from the two 14-pin headers are soldered on the board now. It is time to solder the front PCB.
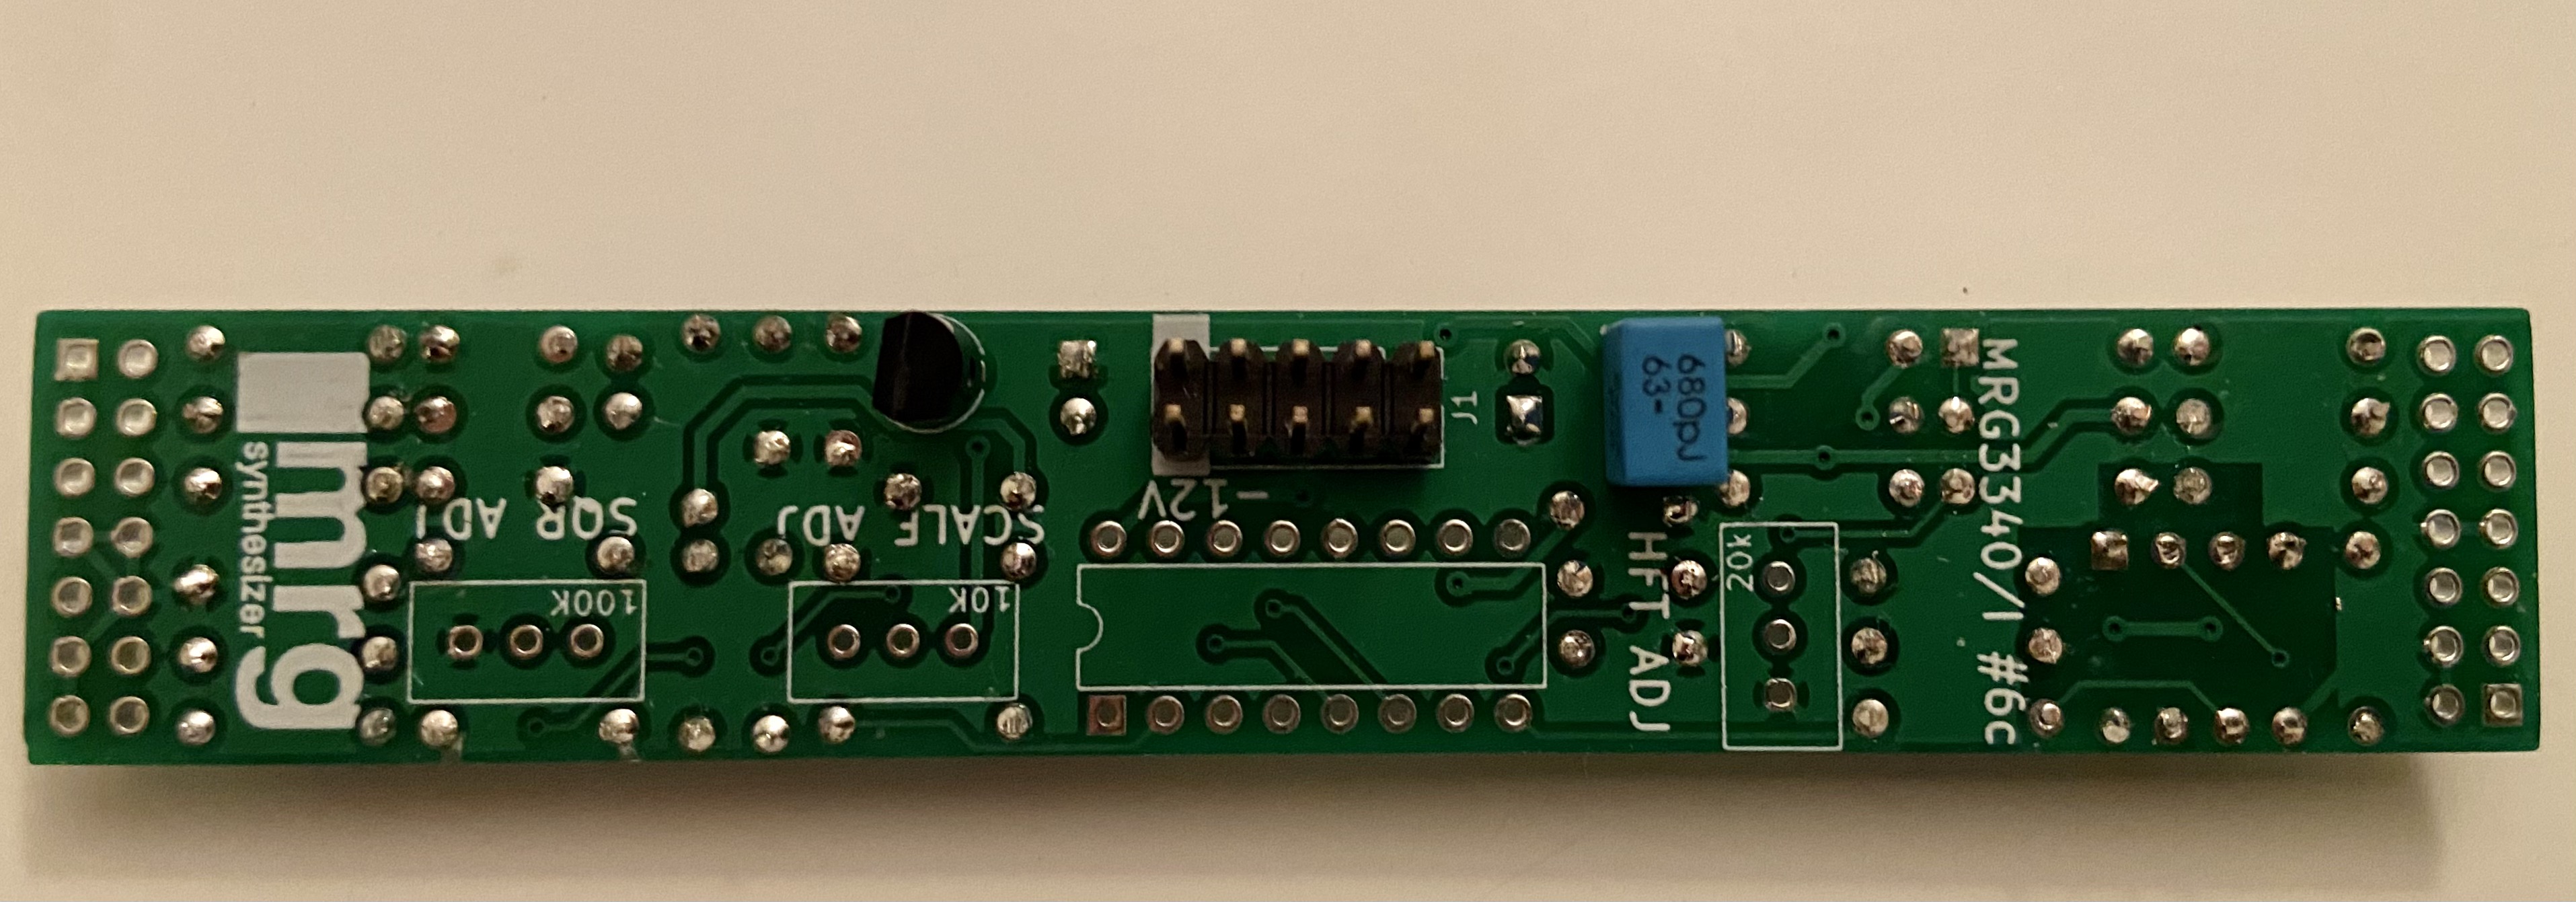
Front PCB
Step C1. Check the alignment of the PCB (label U1 is the top row), arrange the jack sockets and the potentiometers.
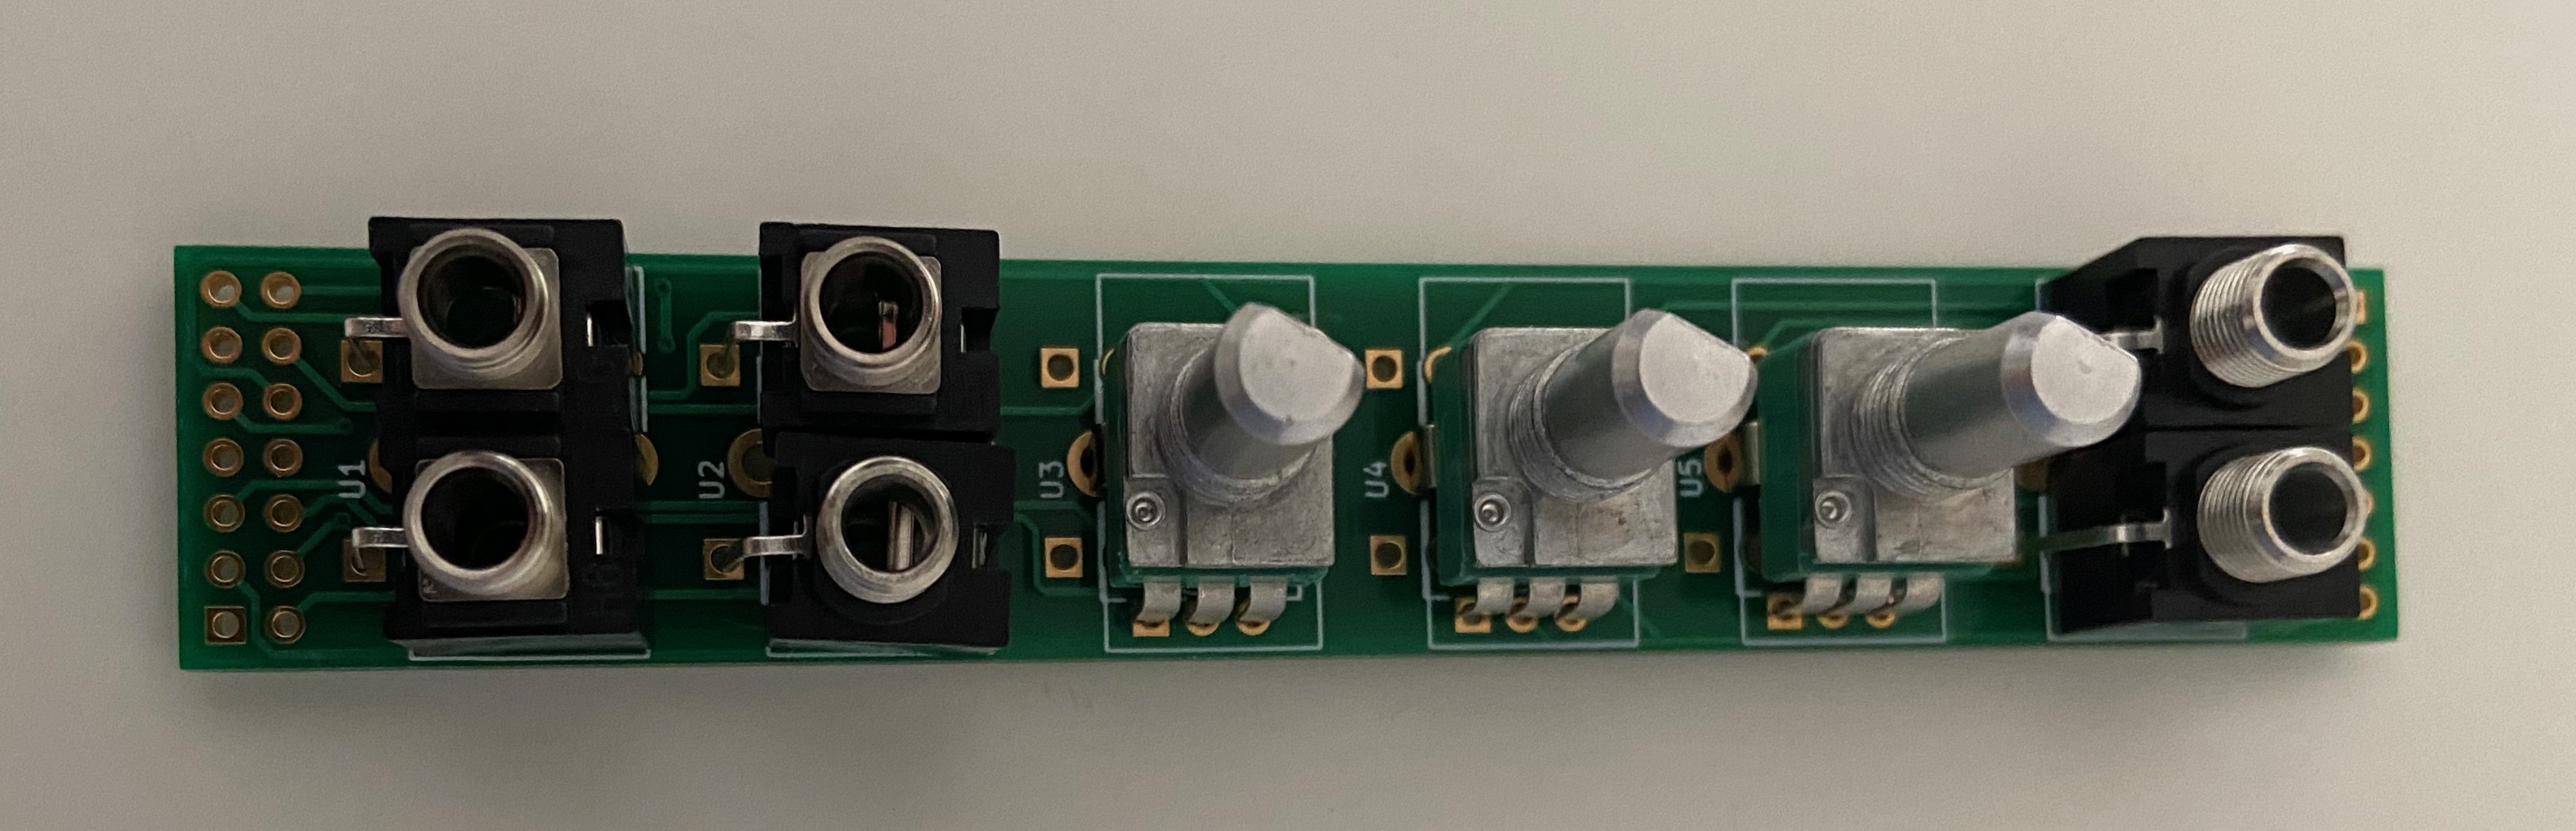
Step C2. Solder the components. Tip: in order to be sure to align the components to the front panel, install the front panel as in photo below and solder the components on the back.
Step C3. Solder the socket headers. Tip: In order to align the Main PCB’s pin headers to the Front PCB’s socket headers, assemble the two PCBs together, as in picture, and solder them in place.
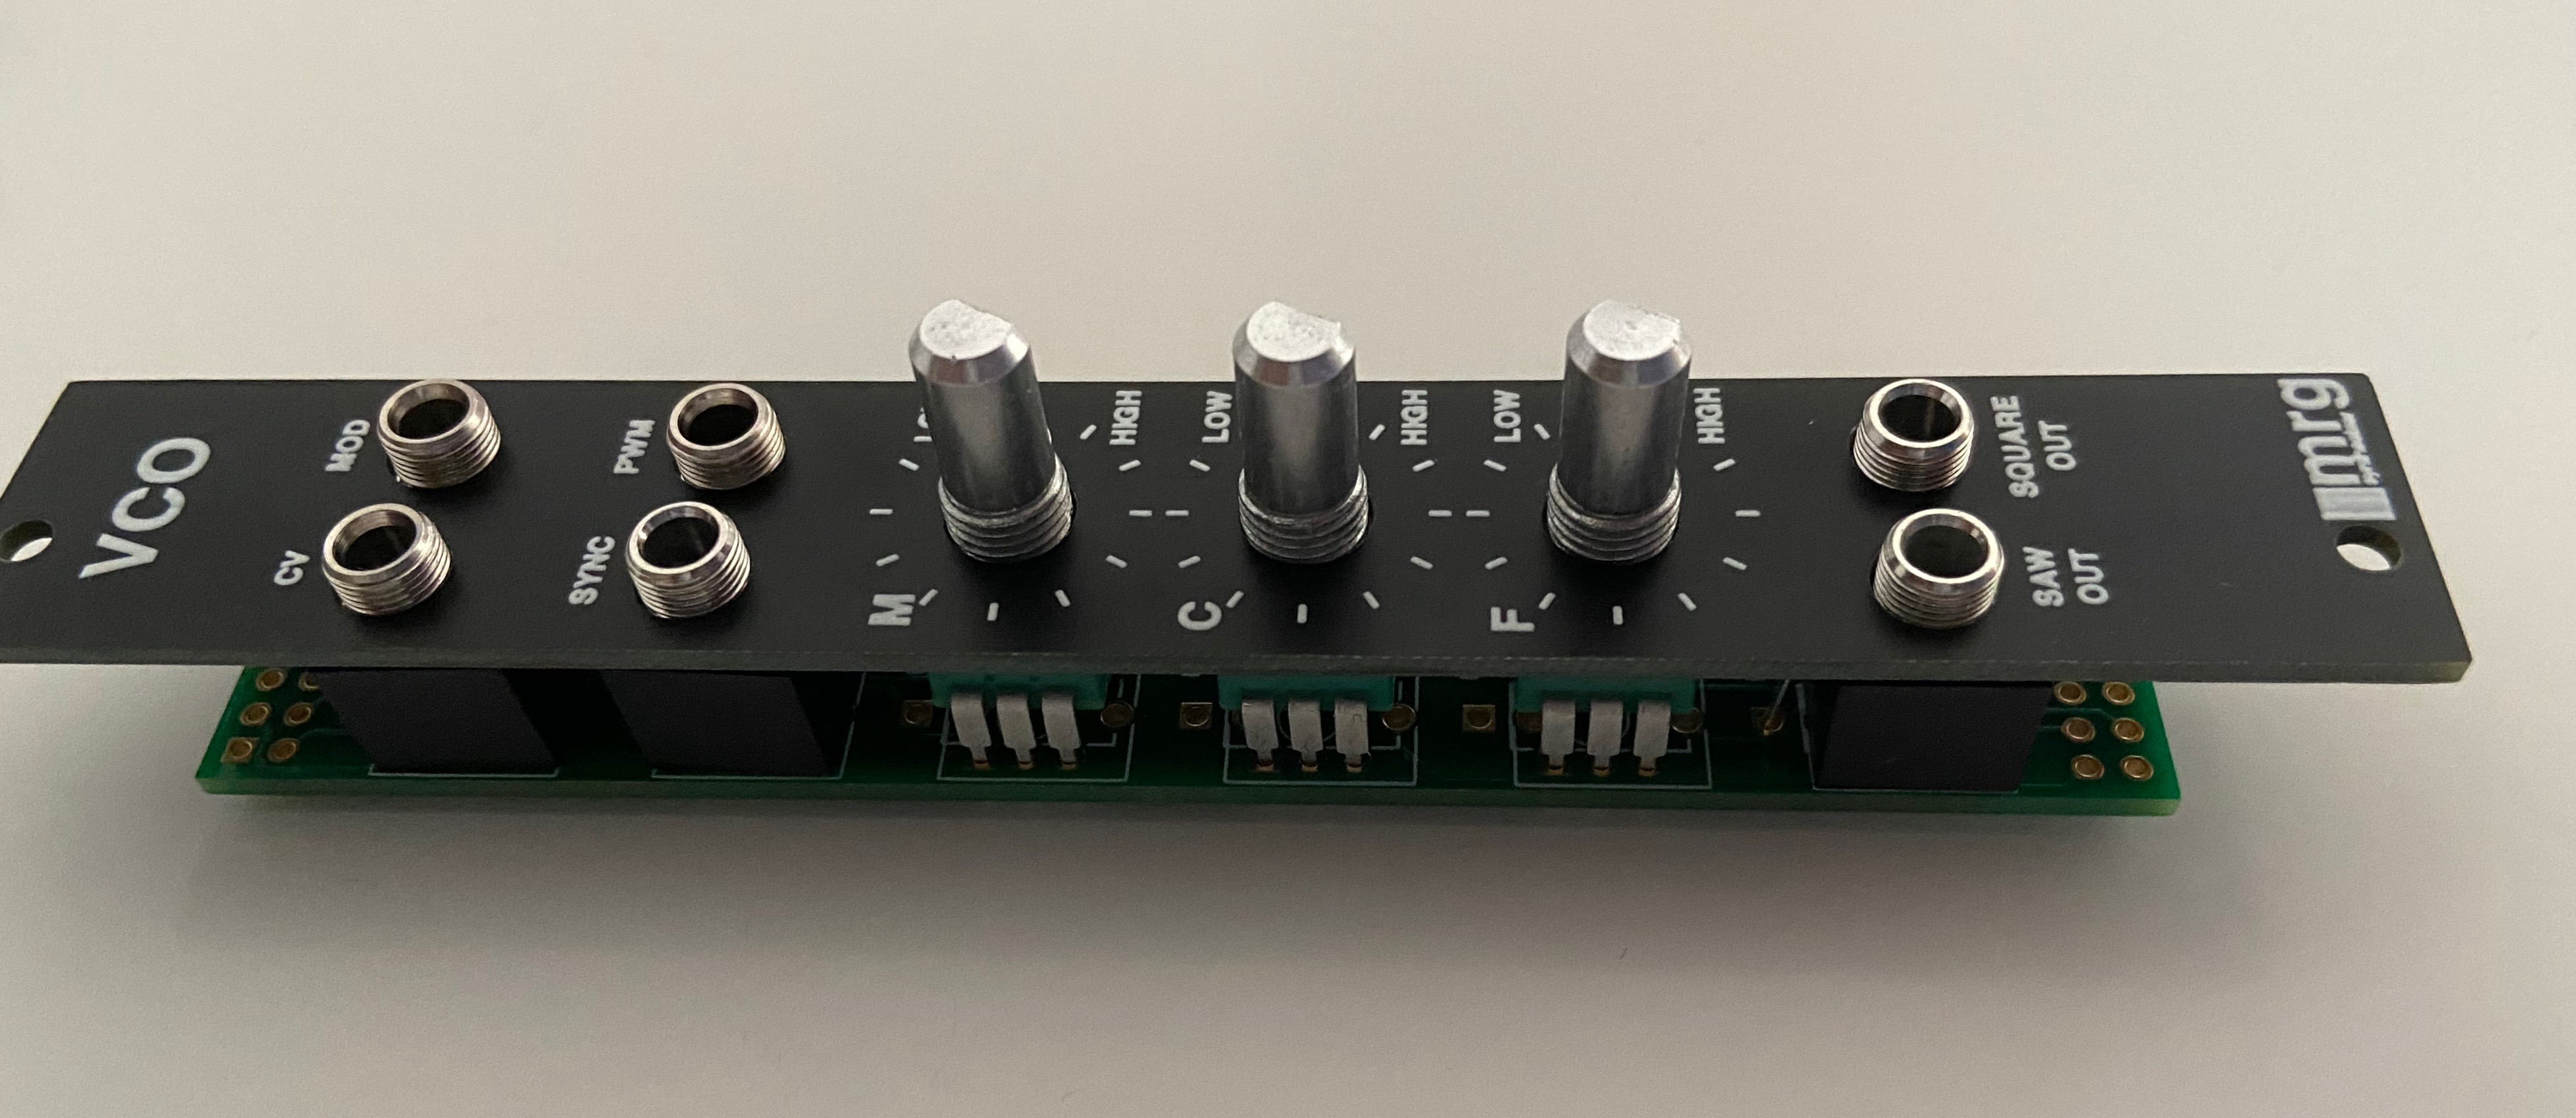
Note that the TL072 IC is in the bottom part of the module: the two logos are not aligned in the MRG 3340 VCO build.
All soldering is now done! The next step is installing the front panel.
Final Module Assembly
Install the front panel, using nuts and washers to keep it attached, and add the knobs to the potentiometers.
Conclusion.
Congratulations! You have concluded a fairly complex build!
The next step is tuning the oscillator.
You can find the tuning guide here
Feedback? Suggestions? Contact me! .